Home Improvement Services
ADAM HANDYMAN Hastings
CHOOSE CAPABLE HOME IMPROVEMENT AND PROPERTY MAINTENANCE IN HASTINGS EAST SUSSEX
Laminate floor installation
There are almost as many types of flooring as there are people. You can find majority of them online! You can choose from carpet, vinyl, ceramic/porcelain/stone tiles, wood or laminate floor.
Along with vinyl sheet, the simplest to install (for me) is laminate flooring. I believe that you could do it yourself too.

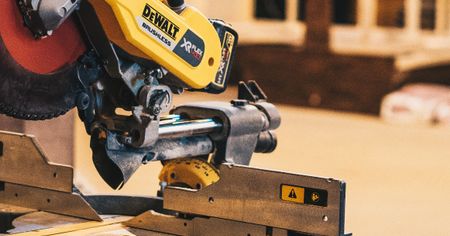
Of course for best results, use professional (and expensive) tools like the sliding mitre saw, jigsaw, and multi-tool. This set will make your job easier and quicker. But if you don’t want spend hundreds of pounds on them, you could try and find some for hire, at the Hastings Hire Centre (competent staff, nice people there) - http://hastingshire.co.uk/ or buy not expensive Laminate Floor Cutter (like below-35£, or similar )

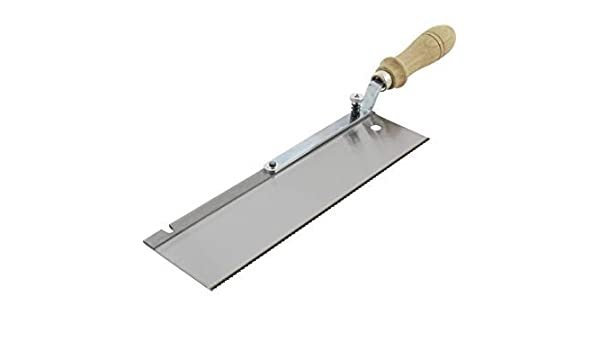
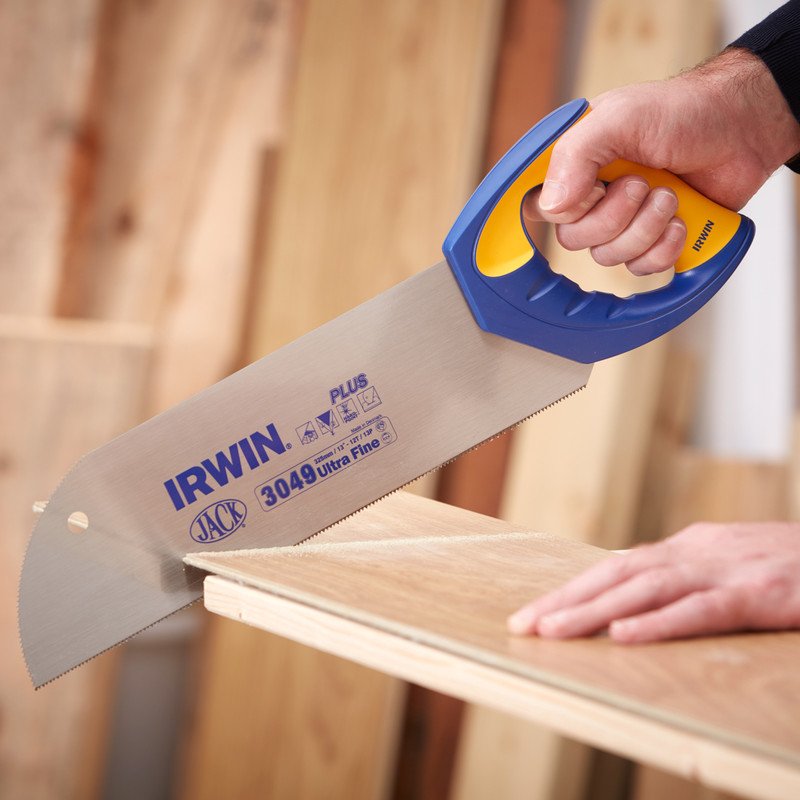
Hand Saw with angled handle like below (9£) or similar
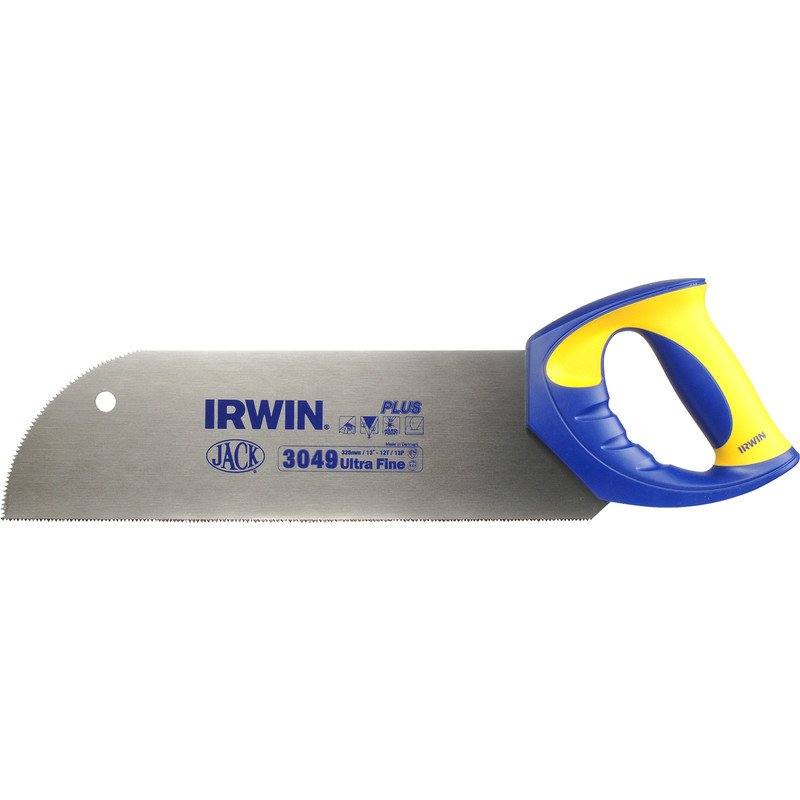
and Hand Saw like below or similar (with small teeth, not too long, as you’ll need use it to cut shapes too)
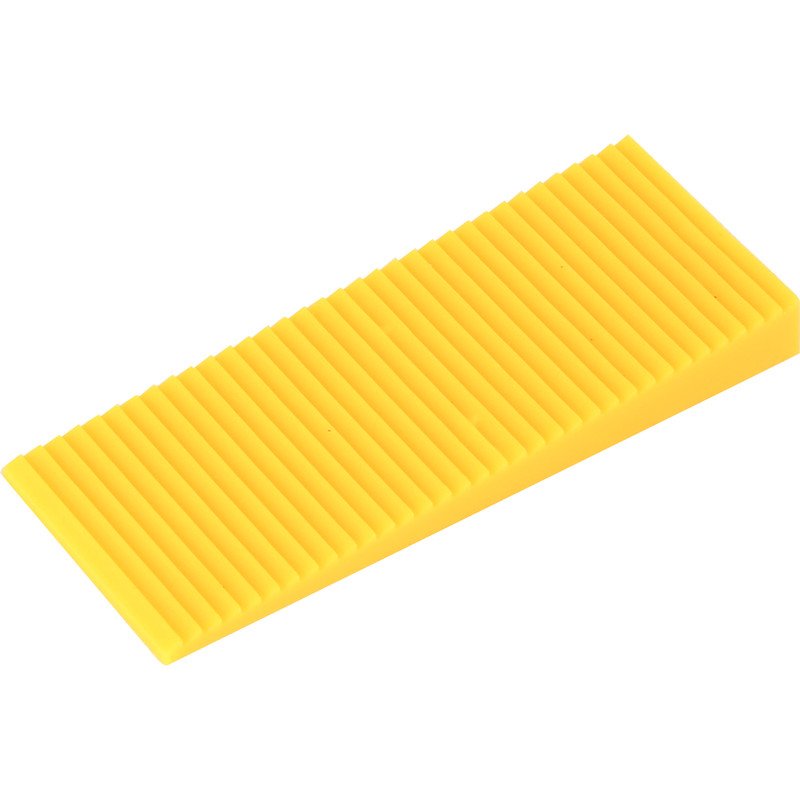
Definitelly (independly of type of other tools) you will need to have Laminate floor installing kit (pull bar, tapping block and spacers)

...and some spear floor spacers:
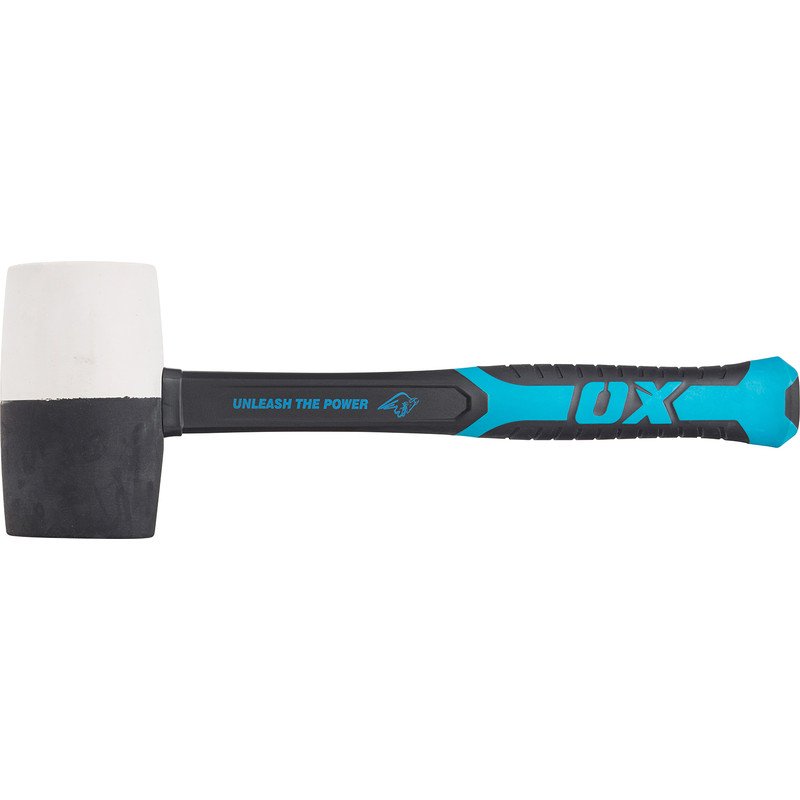
plus Rubber Mallet like below or similar
As laminate floor need to be installed in floating way – this means that you are not to attach boards onto surface below. Each board clips together. This clipping mechanism vary, but main principles - the same. Along walls (or skirting boards) you'll need leave few millimetres expansion gap, to allow expand material during different humidity, temperature and mechanical pressures.
Because of necessity of this gap, you will need make decision:
- Unistall existing skirting boards (which could lead into damaging wall behind and maybe above them) then install them back or install new skirting boards after finish with floor, or
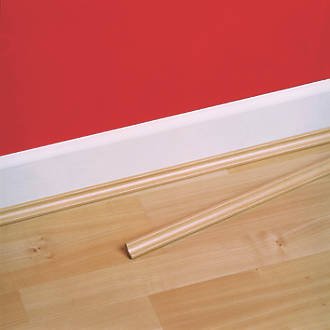
- Leave skirting boards and buy scotia beading like below or similar and install them along skirting boards after floor
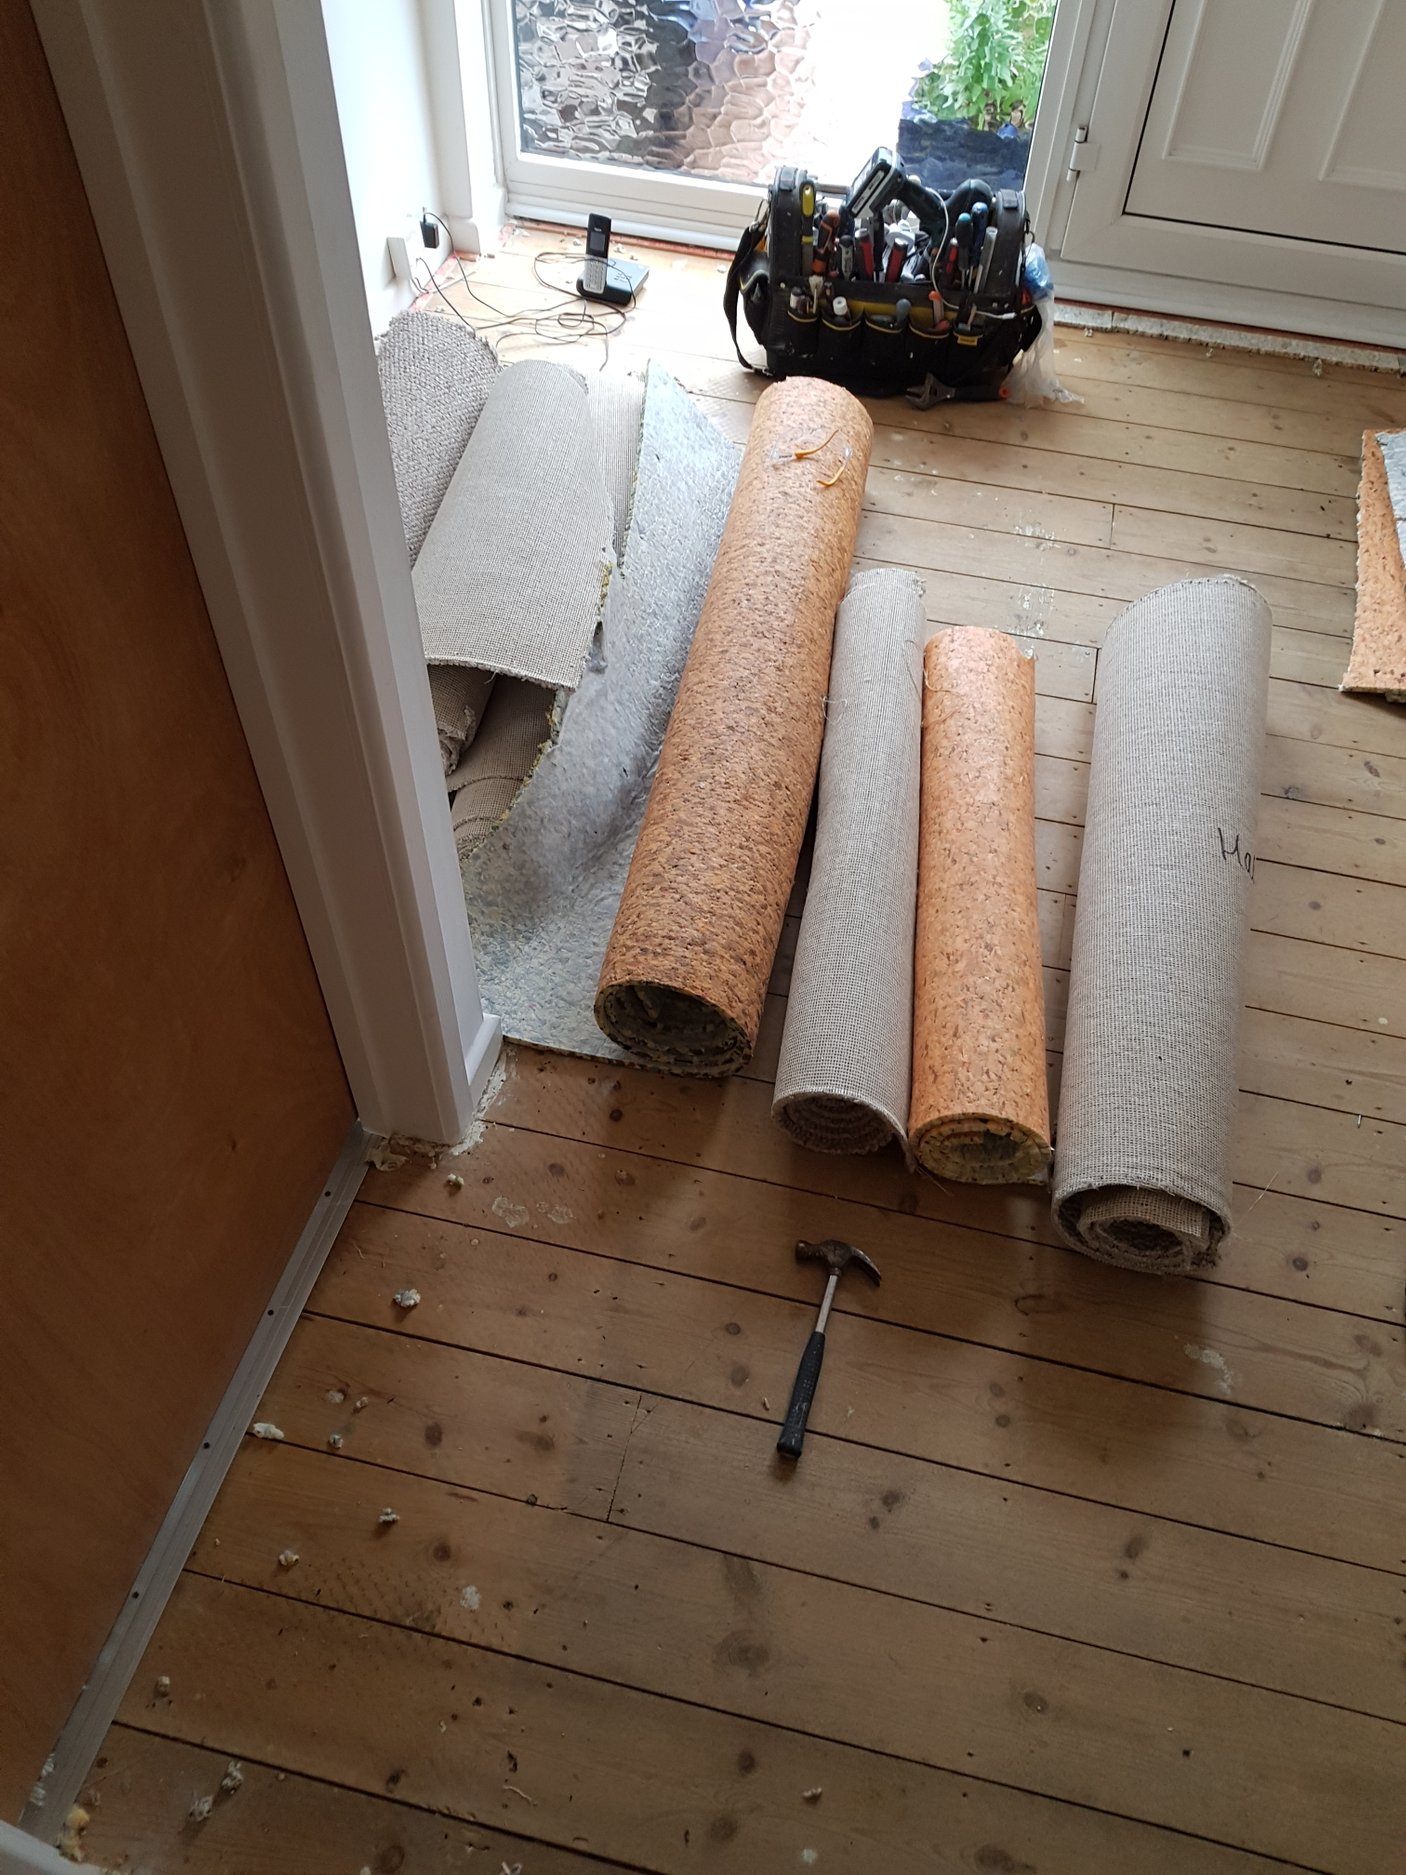
Preparing surface:
Before you install nice new laminate boards, you will need remove old surface (for example carpet with underlay and grippers, vinyl or old laminate). As mechanical strength of clipping parts of boards is not the best, its important to have a flat, even surface. If there are big differences, youll need level it, plane or sand high spots using a wood planer or hand sander. Some places you could you levelling compound. If the difference is not too much, you can lay hard boards over the whole floor.

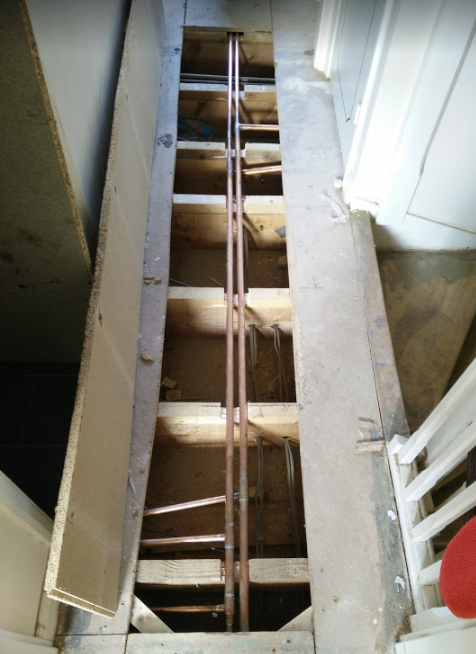
Maybe you’ll need reinforce joist below floorboards as they uneven or squeaky (which would be bigger project – due to uninstalling floorboards etc) – for this I recommend to find tradesman Im afraid.
Please check all area for some nails, screws etc and remove them from floor.
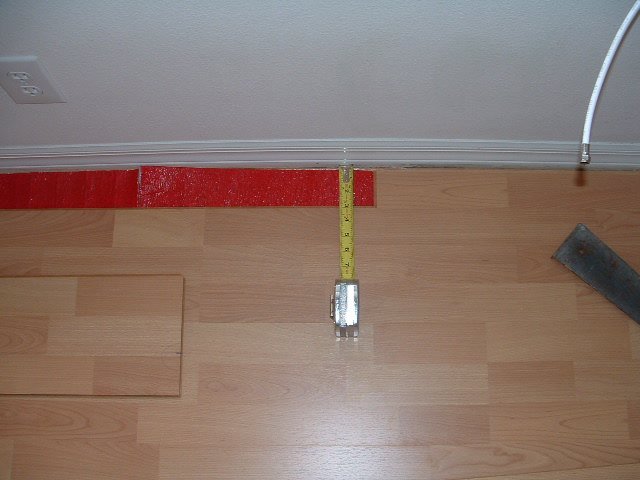
Some floor boards will need screw back to the joist possible Before you will screw old screw or use screw/nail in new places, PLEASE MAKE SURE that below you have no pipes or electric cables. THEY COULD BE VERY CLOSE TO SURFACE!!!

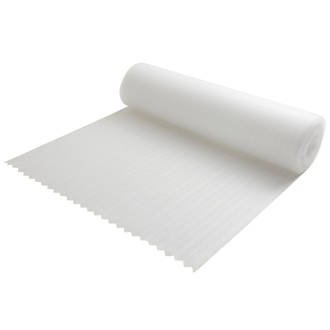
When surface is flat and even, you would be ready to install underlay which will smooth out your floor and will provide nice “cushion” for new boards. Its also thermal insulator and work as acoustic insulation (many types), without it neighbours below could complain about noises from your flat.
https://www.amazon.co.uk/45m2-Deal-Acoustic-Underlay-Laminate/dp/B00EZMWZH0?ref_=fsclp_pl_dp_1

If you wish, choose special design for noise reduction underlay too. If you decide use underlay boards - make a brick pattern, example below.

Most common types of underlay are:
Foam flooring underlay
https://www.wickes.co.uk/Arbiton-PE-Foam-Flooring-Underlay--15m2-Pack/p/620801
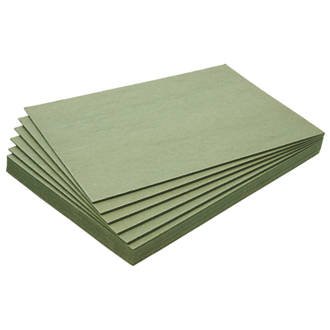
Wood fibre underlay boards- this will extra help with slightly uneven floors :
https://www.wickes.co.uk/Wickes-Wood-Fibre-Laminate+Wood-Flooring-Underlay---10-03m2-Pack/p/215589
You need to tape the joins between pieces of underlay.
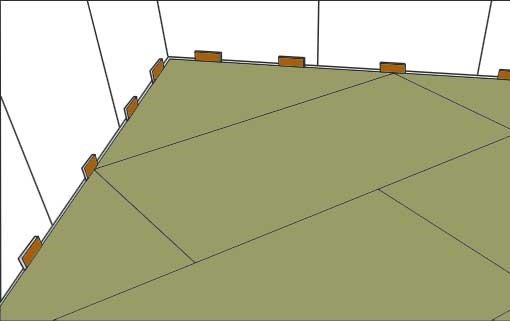
You will need decide which way you will install boards. Vertically or horizontally. Below situation whith horizontally in relation to door.
Please position first board in the corner of the room and connect to it few more boards along wall in the row. Last board shouldn’t be shorter than 300mm. If its, please back to first board, cut it and install back. Last board (possible) need to be cut as well. Just remember about one rule: MEASURE TWICE - CUT ONCE. If necessary better cut not enough, then check, mark and cut more (instead of cutting too much and wasting material).
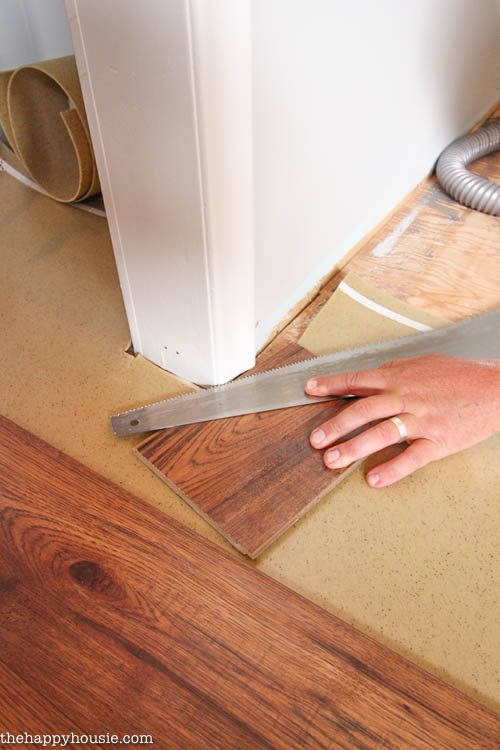
For cutting you can use Laminate Floor Cutter (mentioned before) or mitre saw, could be hand saw or jigsaw too.
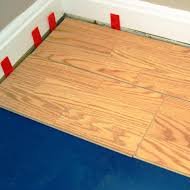
It is good to start from a wall with door, as installing last row of boards in door frame – under door architraves could be very tricky and time consuming. If you gently connect every board in first row, you could draw line along them in underlay or even without it – take line, stretch it between both ends and check if its perfectly straight. If it is, insert plastic wedges between the boards and wall/skirting board.
When you will need cut around obstacles like radiator pipes – mark place (like photo), drill few places with larger size of drill and cut along lines with hand saw (or jigsaw).

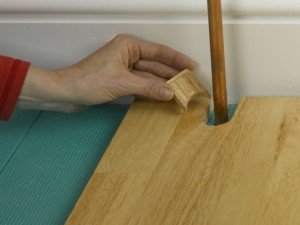
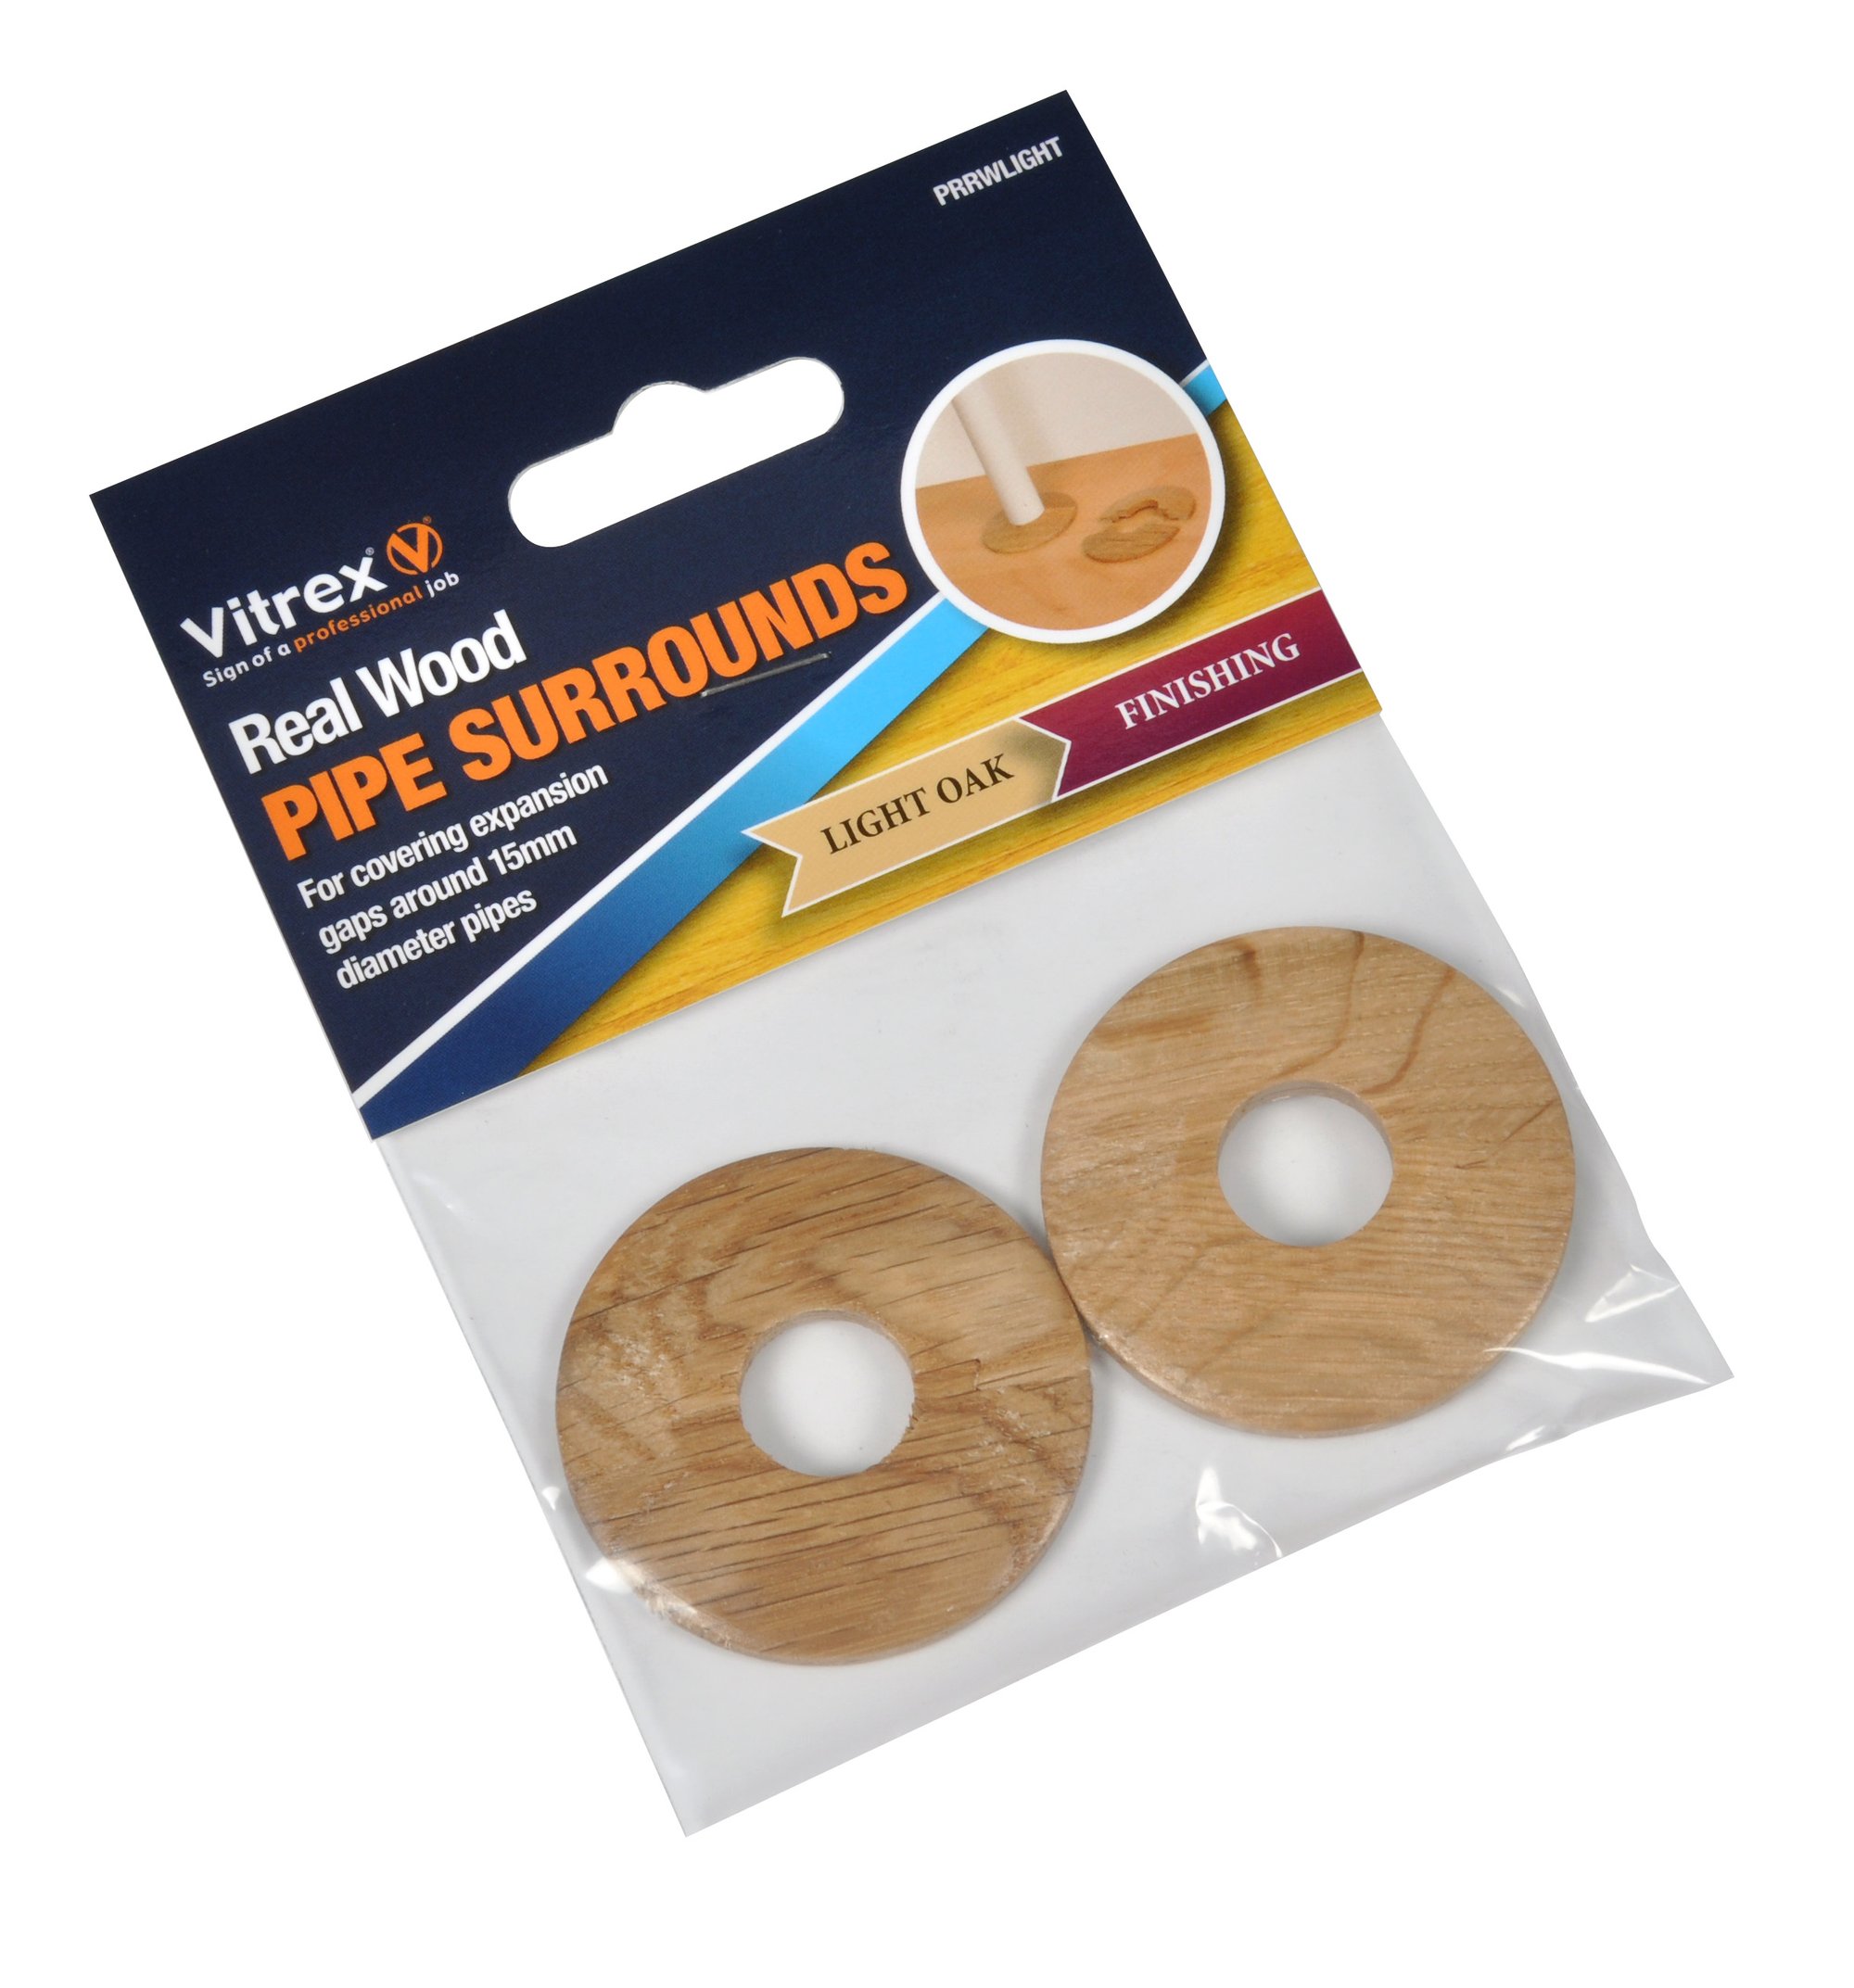
Then imperfection of cutting you will cover using pipe cover like below:
https://www.wickes.co.uk/Vitrex-Real-Wood-Pipe-Surrounds-Medium-Oak---Pack-of-2/p/922311

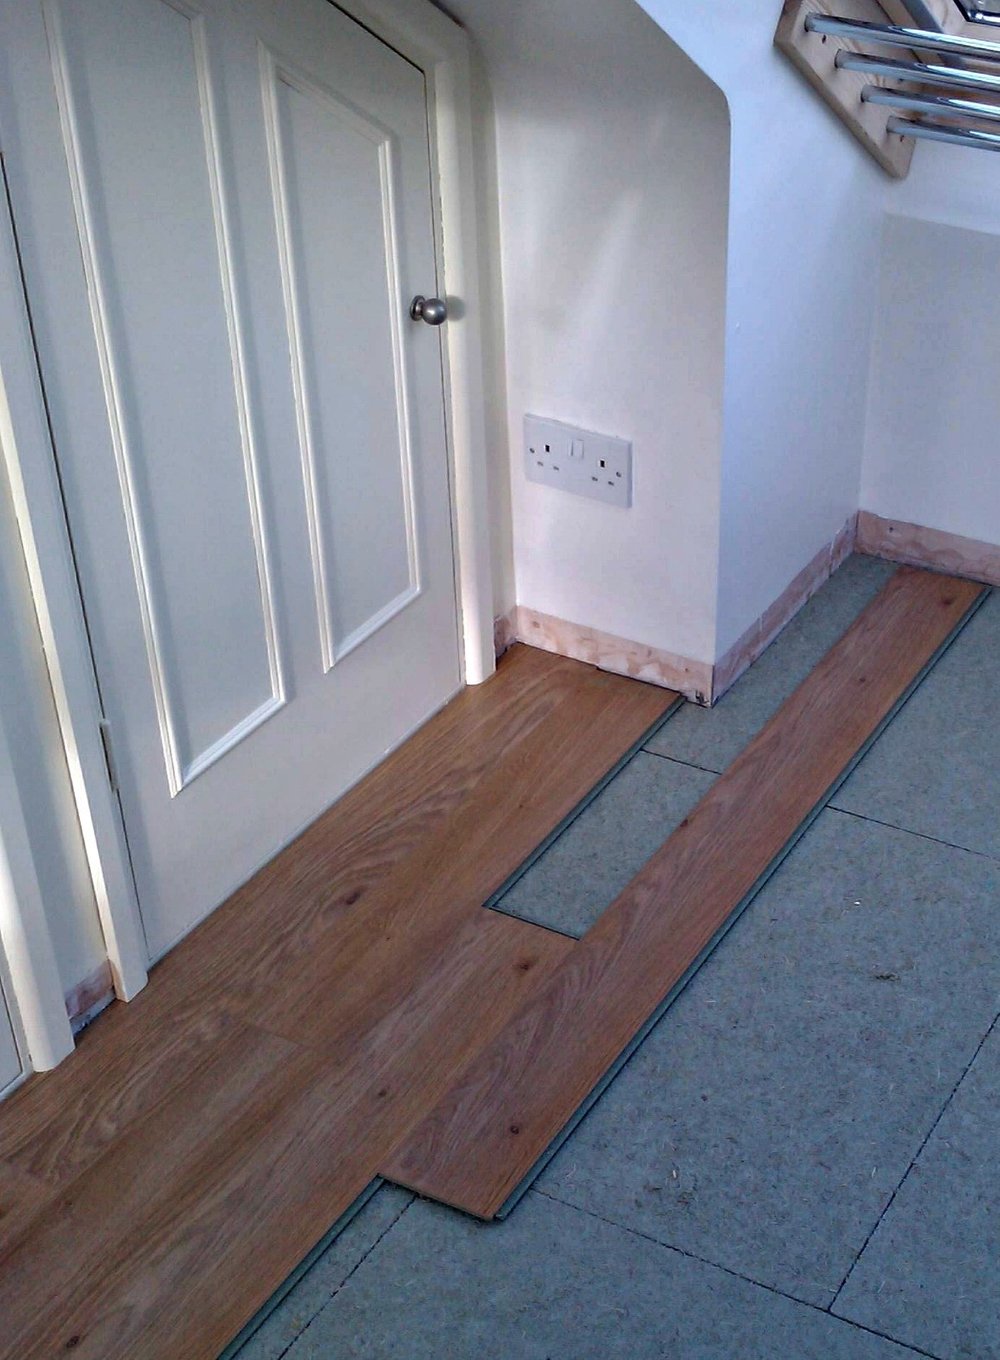
If you starting from wall with doors (or you will meet them in the middle or end of job), please keep attention to details.
Take piece of unused board (upside down) and mark high on architraves plus part of door frame (where boards should go below). Then using angled handle hand saw (or if you have it - multi-tool) cut along these line.
[Best way would be cut along all this raw to allow full board leave enough place for between door frame. Unfortunately it will need use Plunge Saw or Jigsaw, so Ill suggest other way]
When cuts in architraves and frame will be done, put board like on photo above.

Then take a measurement between frame (add around 1-2cm) and mark on new board. Then check dimentions between edge of board and place for threshold and mark it on new board too. Cut this new board both marks.
Now install all first raw few millimetres from wall, install new cut piece of board and move all row into place. Don’t forgot about plastic spacers – along all walls.
Now you are read to install second row of boards. Please make sure that you will not leave on any side board shorter than 300mm. First connect boards into row and then all raw to previous one. An extra pair of hands will be very helpful Every time when you will connect each row make sure that you will have correct angle. Then use tapping block with rubber mallet, but don’t use too much strength – laminate floor is very fragile.
When you will end with one before last row, check with tape measure required width for each board. Mark it on new boards and use hand saw (better jigsaw, best plunge saw) to cut correct width. Remember about the gap between last board and wall/skirting board too.
When you will cut boards, keep them supported so that it does not chip as saw nears the end of cut.
After installing all floor now will be time for scotia beading. Finish off the room with length of them – pin them with small nails or glue them with solvent free adhesive like yellow Gripfill or similar

Its just one thing more – install door threshold. You will need cut length of it. Install part into the floor board in the doors, use small screw – rremember that below boards could be some pipes or electric cables. Then press top part (possible with colour clips) into installed part.
I hope you will enjoy your new floor. If you need any more advice or the above wasn’t clear enough – don’t hesitate contact me.
If you decide leave this job for after lockdown, or you could ensure secure space to do this now – why not contact me for free estimate?
