Home Improvement Services
ADAM HANDYMAN Hastings
CHOOSE CAPABLE HOME IMPROVEMENT AND PROPERTY MAINTENANCE IN HASTINGS EAST SUSSEX

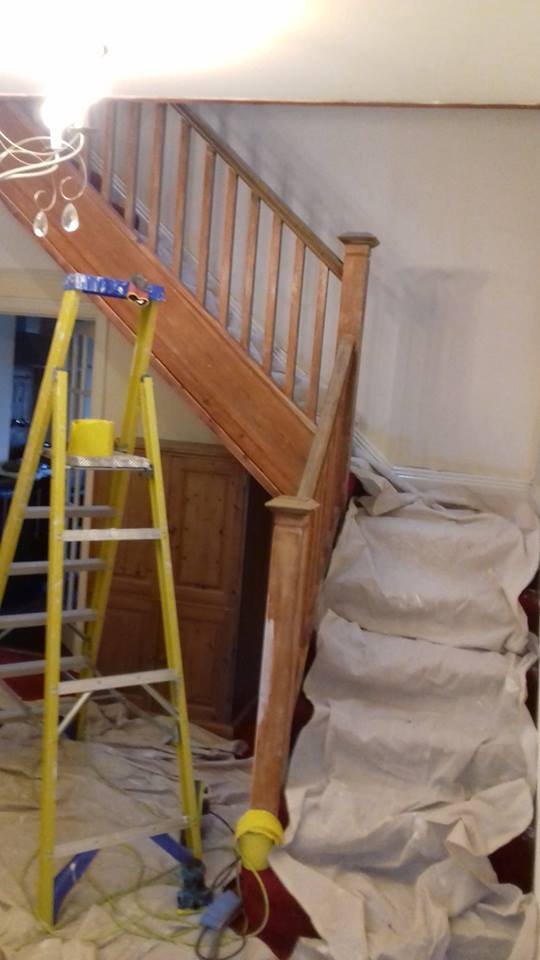
Woodwork preparation and painting.
Similarly, like with painting walls, most important part of job with woodwork is preparation!
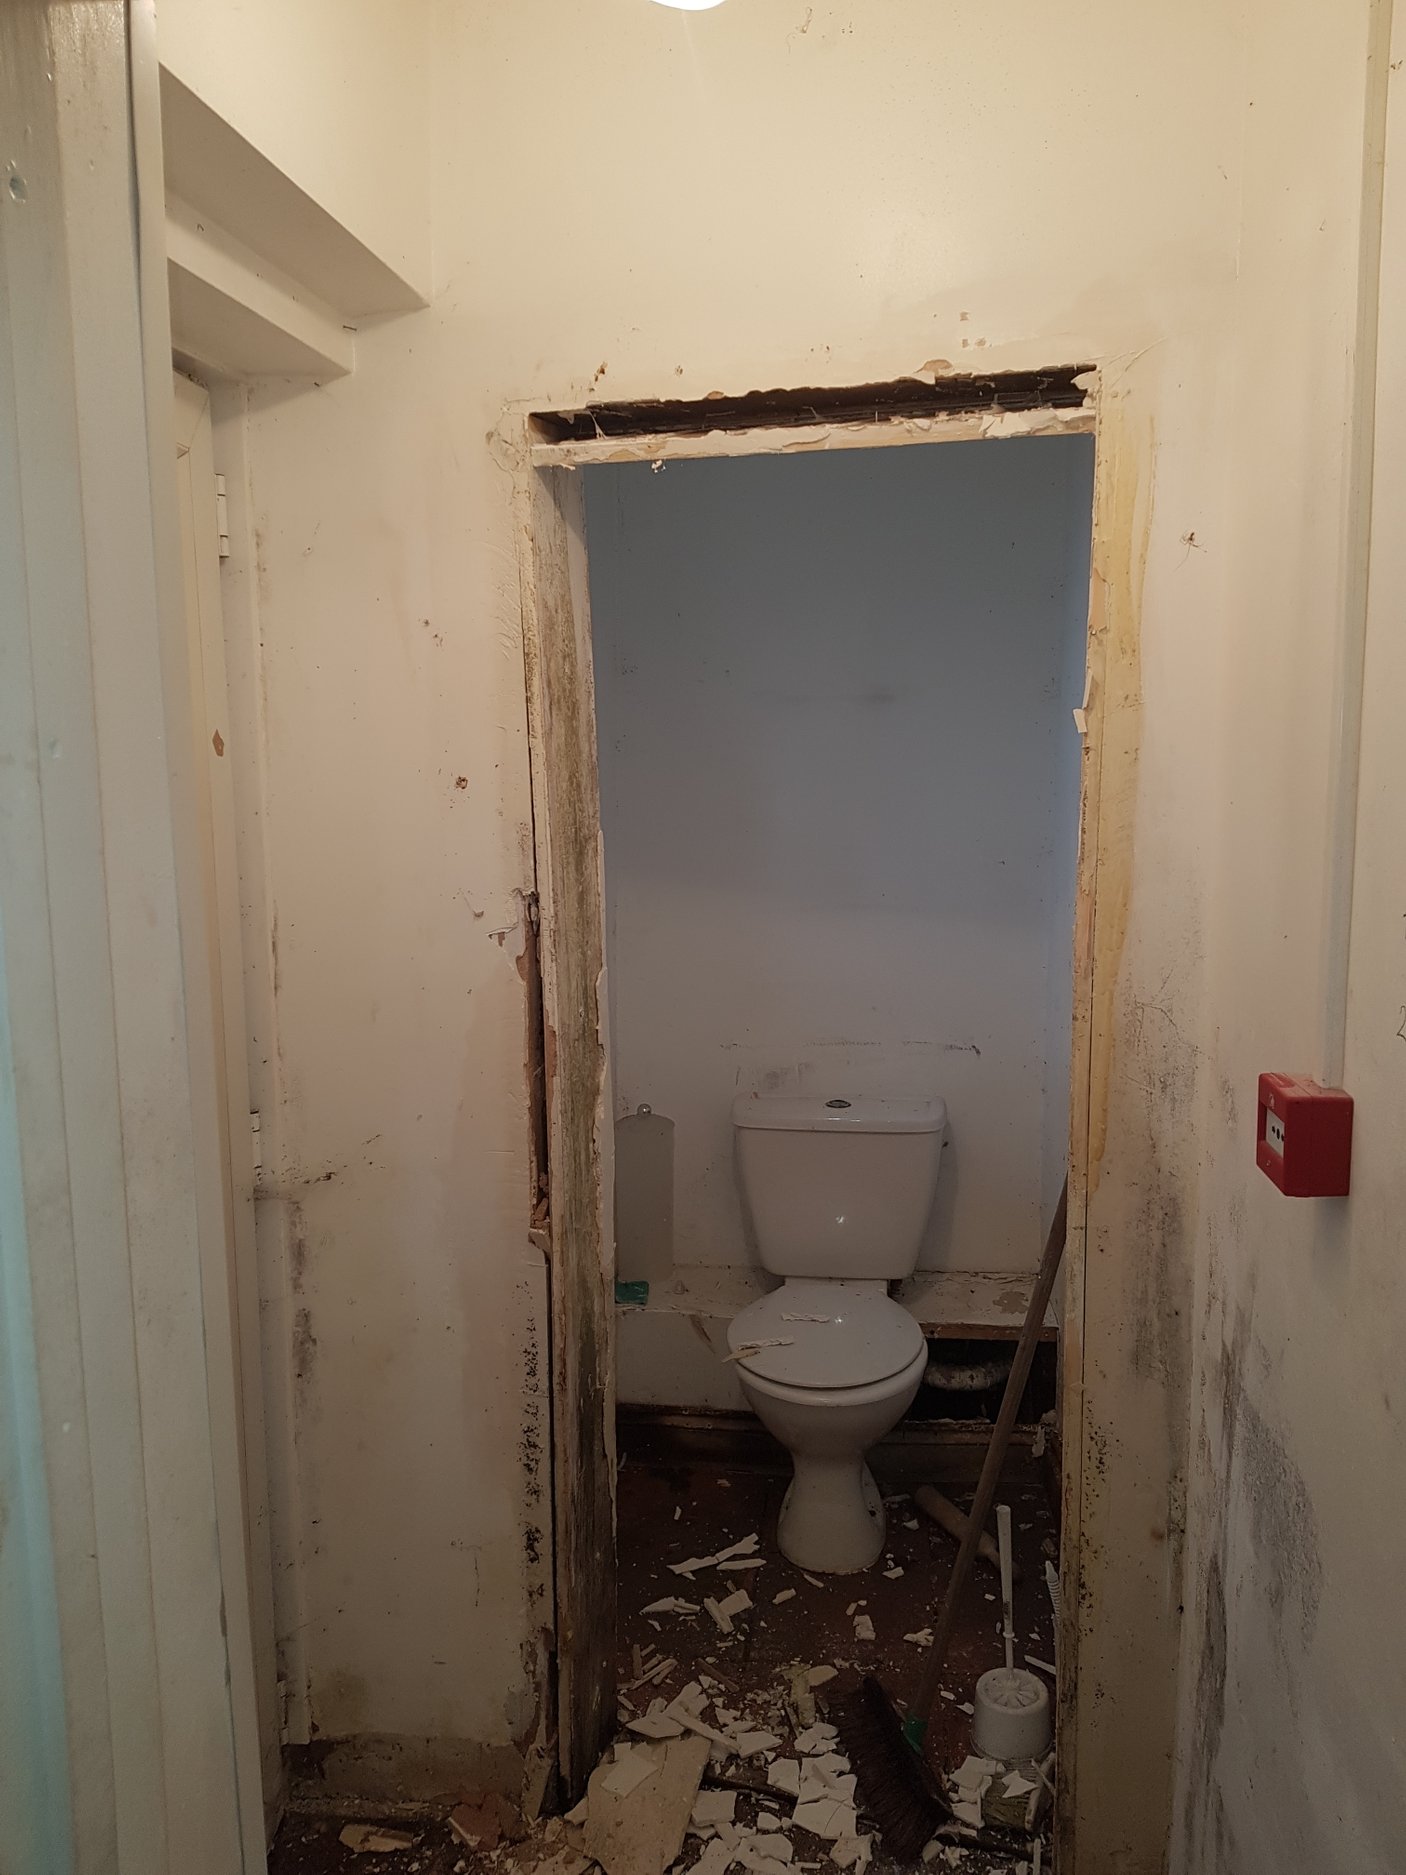
When you need to apply a new coat of paint on wooden surface, you could find many different situations, where steps prior to painting are different. Sometimes youll need call handyman or carpenter to re-do door frame...
Other time youll be able prepare and paint woodwork at your home yourself:)
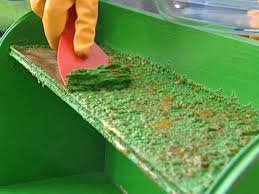
But almost always you will need use the sand paper. You will possibly need two types – grade 80
https://www.toolstation.com/aluminium-oxide-green-sanding-roll-115mm-x-10m/p77944
and grade 120:
https://www.toolstation.com/aluminium-oxide-green-sanding-roll-115mm-x-10m/p77673
First you will use smaller grade (when you need remove peeled paint, some drops and other not nice bits on the surface), then 120 grade sandpaper will make your surface prepared for new colour.
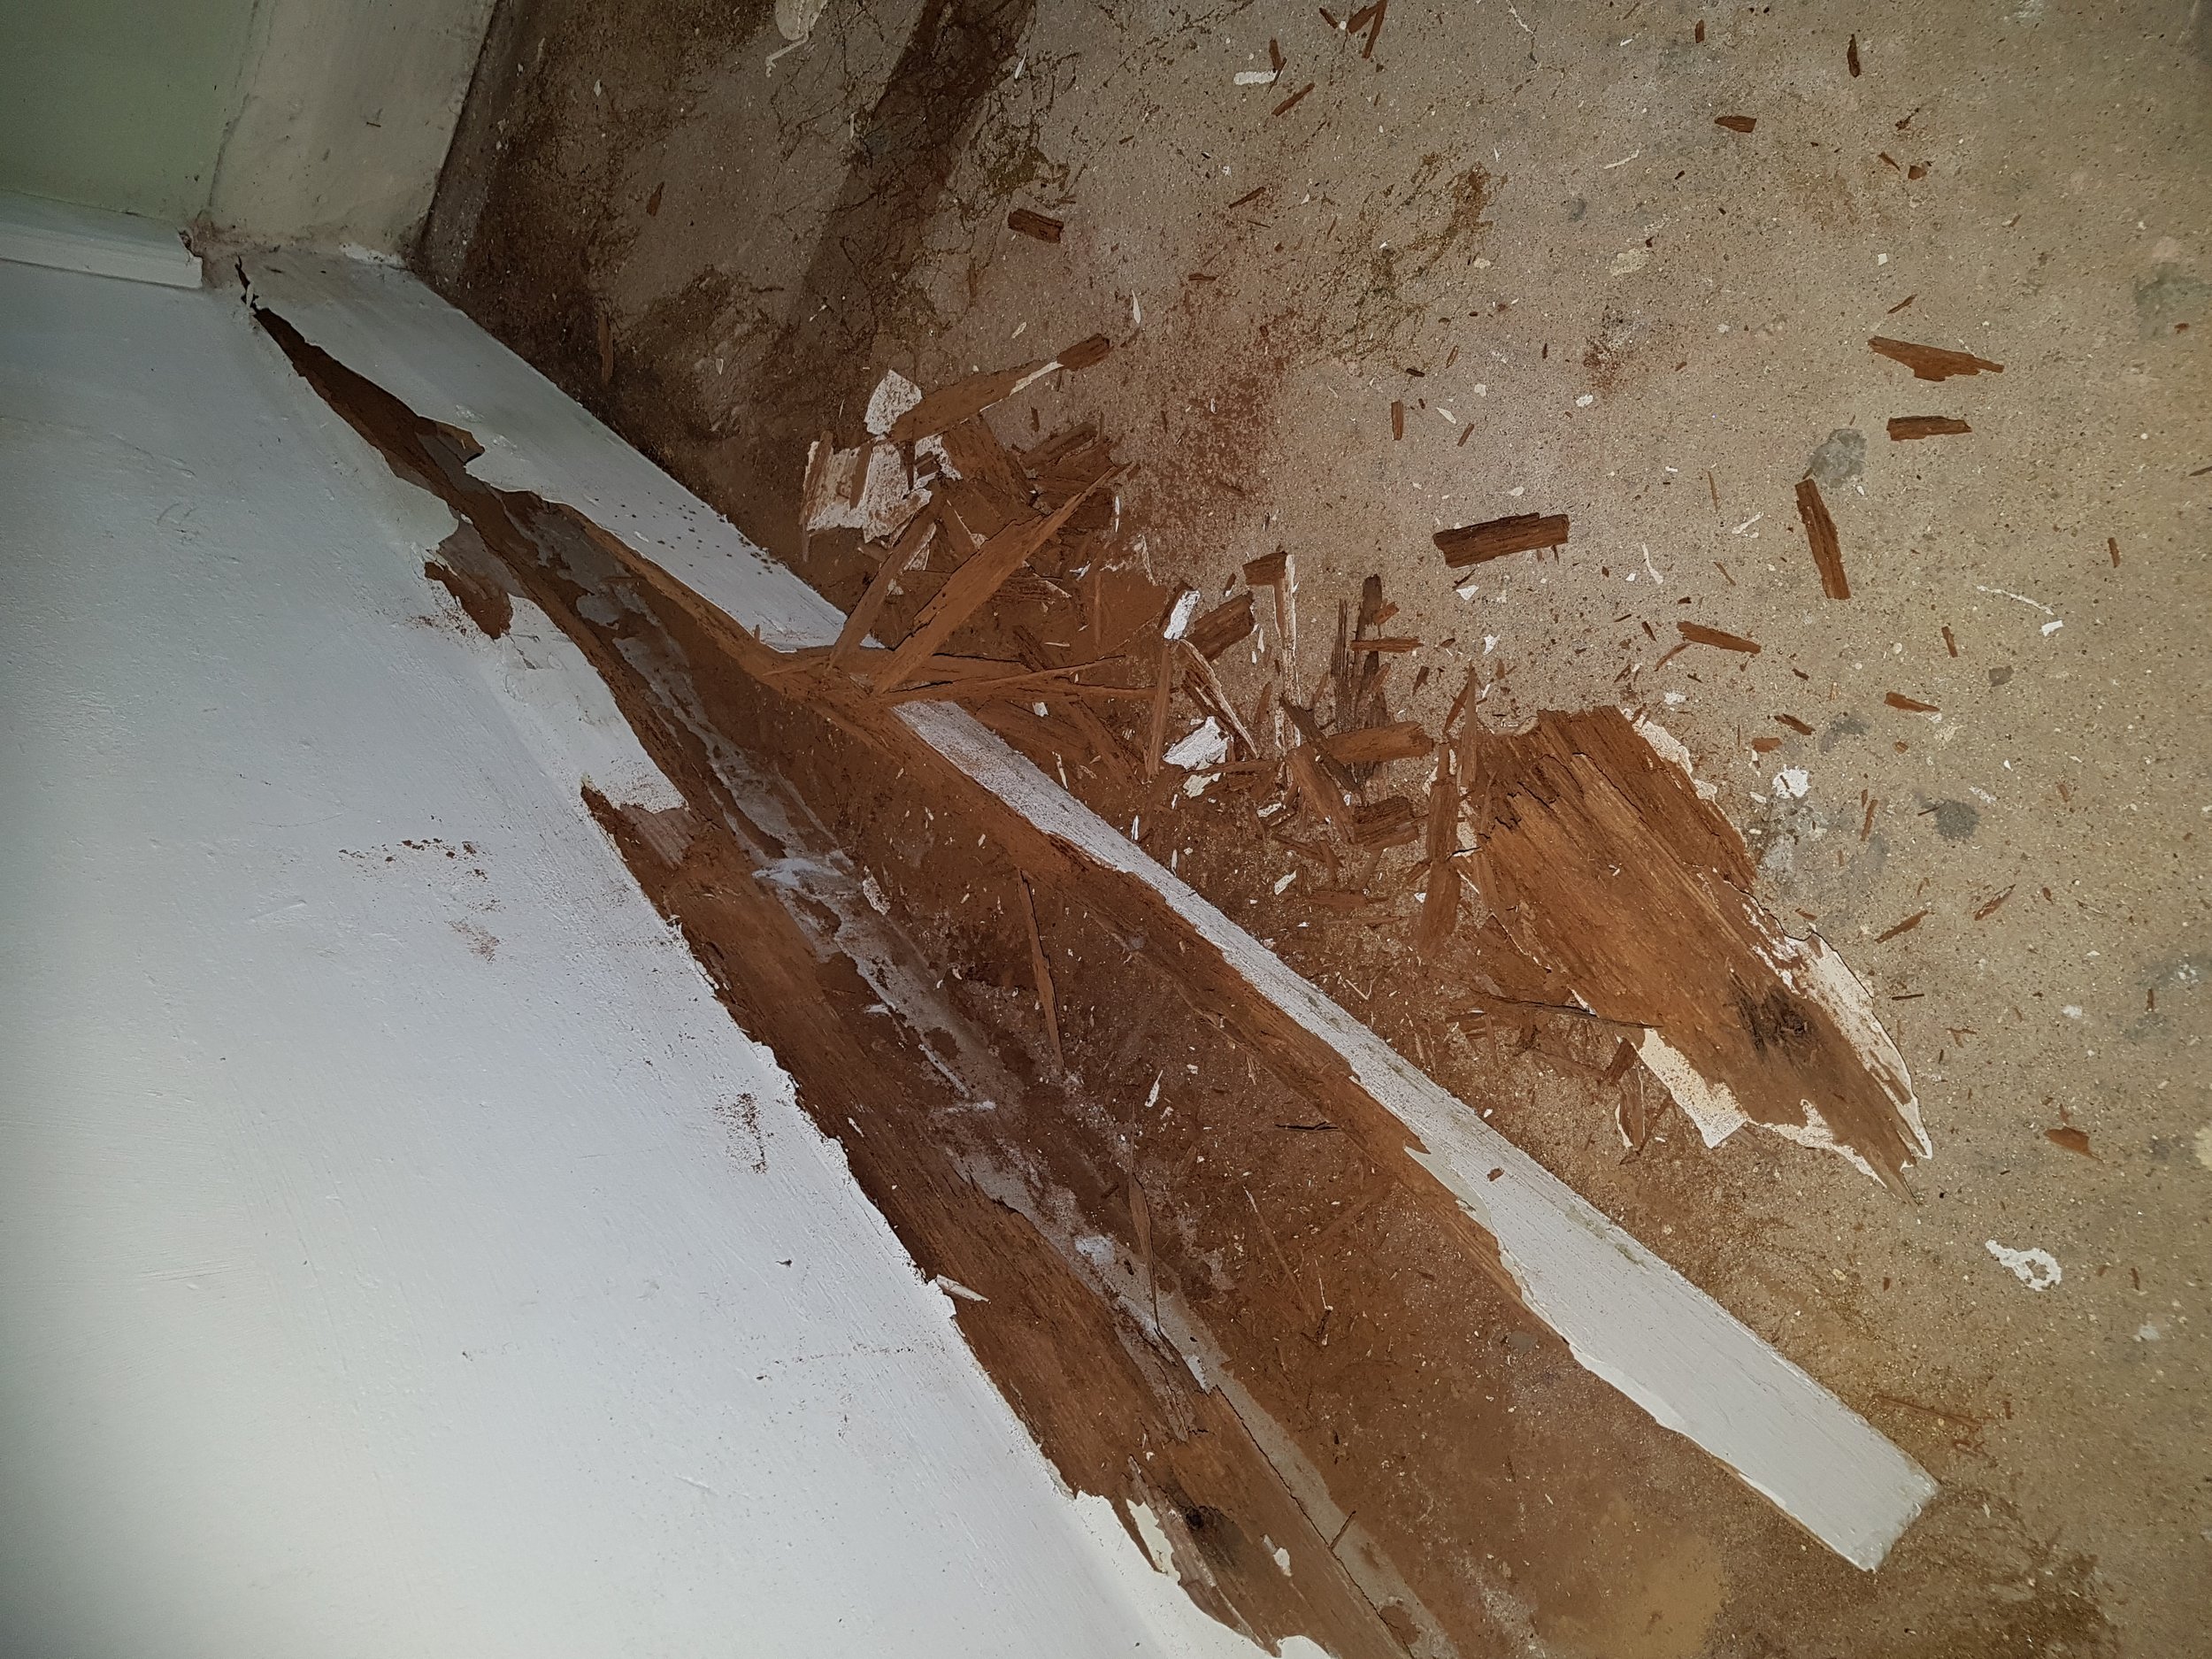
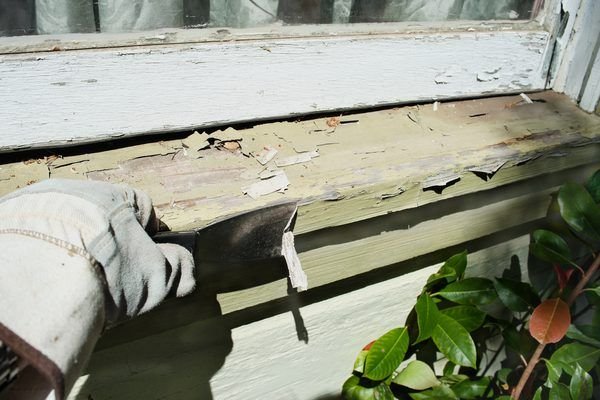
But this is possible only if you have no cracks/holes in woodwork, if any bits of it are too soft (it could mean that below old paint timber is rotten or just wet).
When you’ll see some cracks or holes in your woodwork, you need take a flat screwdriver, and make them little bit deeper along all length of these cracks. If there is dirt, soft or unstable material – remove it. Use 120 sand paper there. Then you can use small (like 0,5 inch) brush (or hoover) and remove all dust.
On the market there are many different types of wood fillers. In some places (where is no tension or vibrations which are on doors / windows and frames etc) you could use cheaper wood filler. But what I recommend is two parts High performance Ronseal Wood Filler. At the moment available for delivery at Toolstation, or Screwfix
https://www.toolstation.com/ronseal-high-performance-wood-filler/p57138
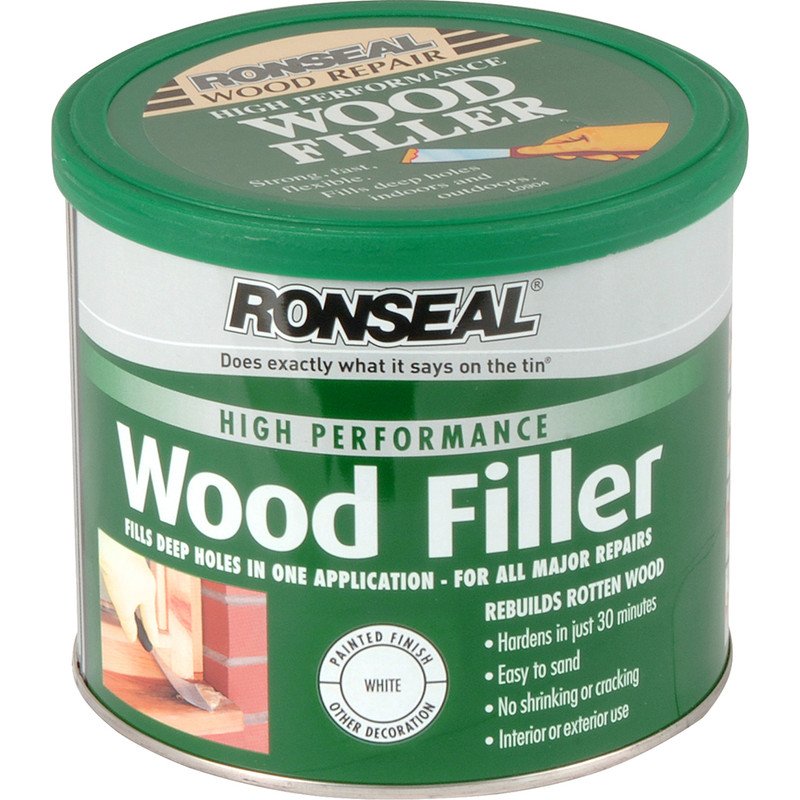
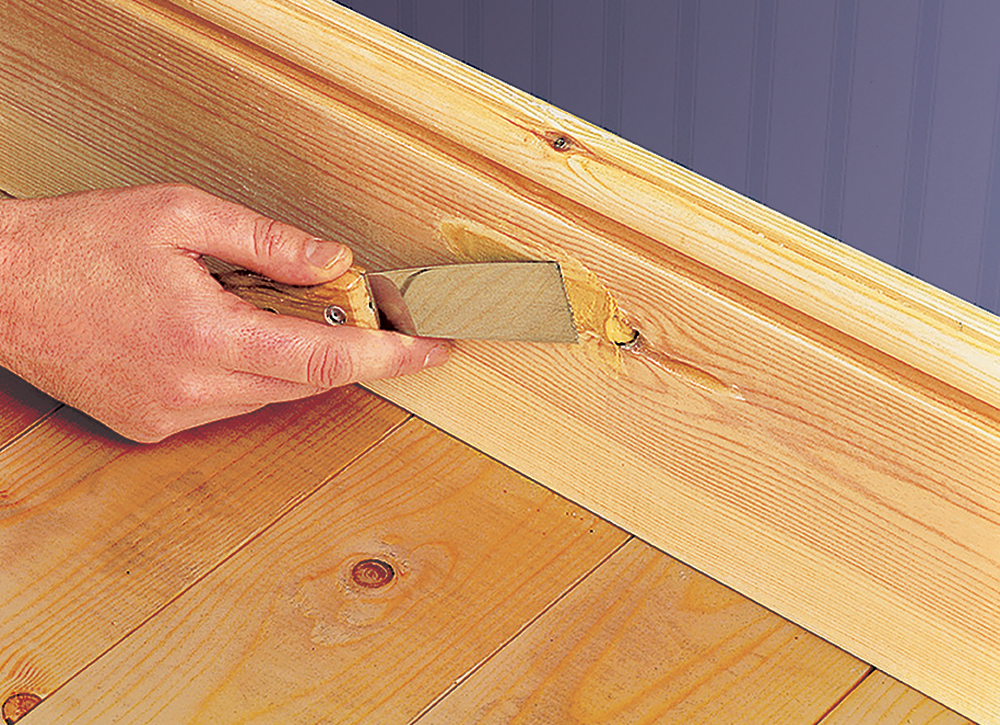
They are available in 275g, 550g and 1kg pots). I usually buy this product in Toolstation or Screwfix where 550g pot is cost around £10. You will need take a piece of flat material (use piece of timber, plastic or even back of sandpaper) and mix there pea-size drop of hardener (silver sachet) with golf-ball size amount of filler until It becomes one colour. Hardener is white liquid and filler you can buy white or creamy colour. Then apply this mix into place, make sure that all holes are properly filled. Leave it for about 20-30 min and use sandpaper to sand it and make smooth. After that holes with filler will be ready for painting, drilling or planning or nailing.
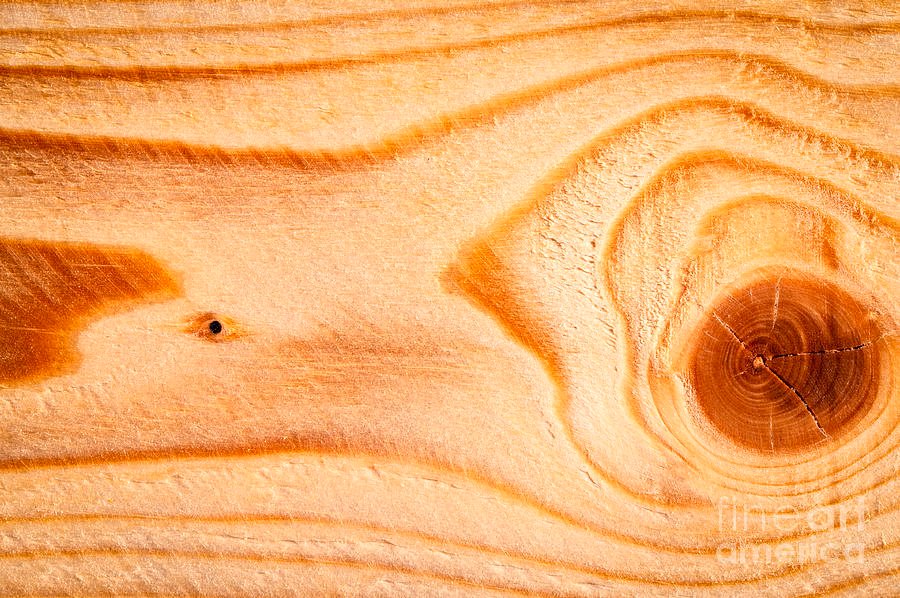
If you have bare wood, I suggest to prime it prior painting (you could use some cheap primer, more important is good quality top coat paint), or even prior using filler. Any knots in bare wood should be treated with knotting solution like below or similar. Then fill the hol or cracks there with same wood filler as above.
https://www.screwfix.com/p/liberon-knotting-solution-natural-pale-125ml/6244F?tc=UA1&ds_kid=92700022649300635&ds_rl=1241687&ds_rl=1245250&ds_rl=1243321&ds_rl=1249481&ds_rl=1245250&gclid=Cj0KCQjw-r71BRDuARIsAB7i_QNUC2ICZI8Ud062R6VOG7t-rsNsshtjzNJdYa5pz9WqDlyQ9-twNc8aAv_5EALw_wcB&gclsrc=aw.ds
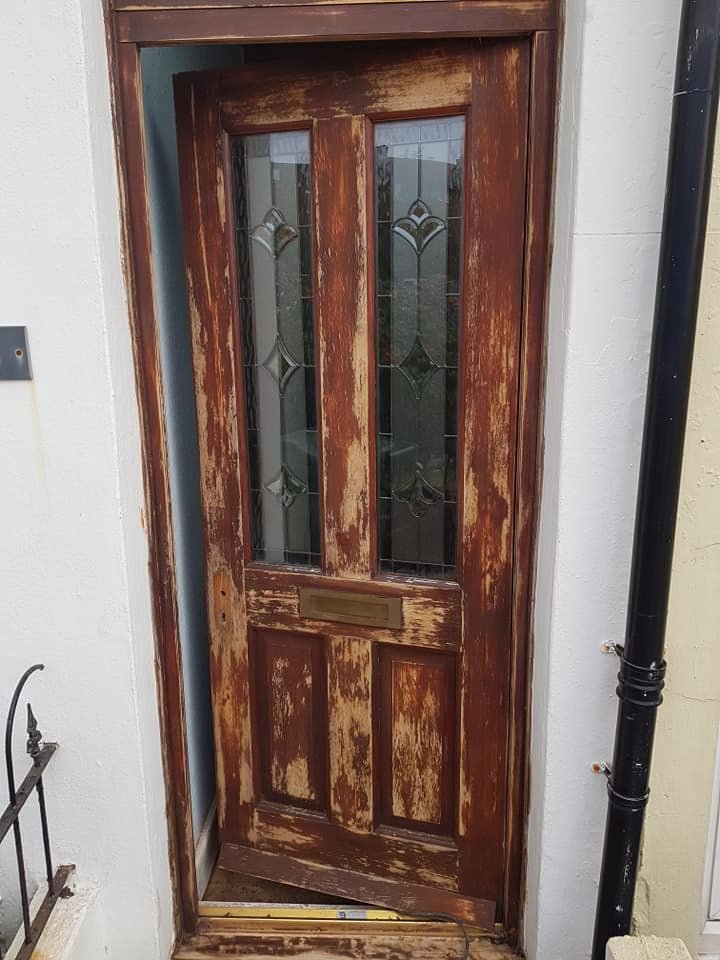
If existing paint is peeleng off, there are so many layers and surface doesn’t look good enough to just apply another layer new paint.
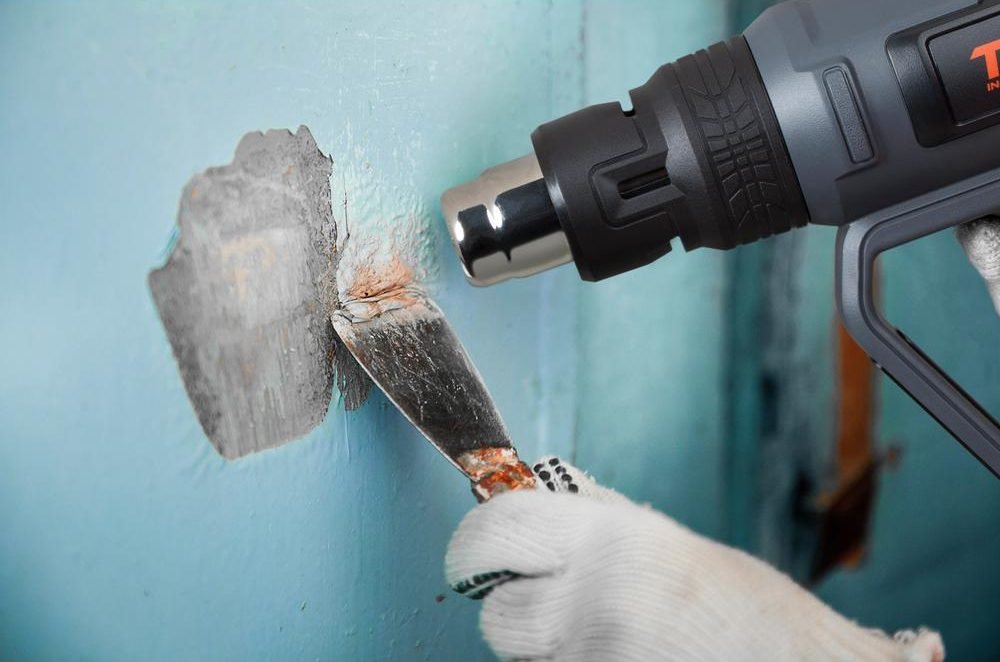
This time, you need remove this paint first. We have few methods on how to do it. You could use smaller grade sand paper (like 40) – if paint is caming off easy. If not – you can use heat gun. Im using little bit more expensive, but for one off job I think heat gun like below should be good enough https://www.toolstation.com/silverline-2000w-hot-air-gun-accessories/p68070
So, you need direct the nozzle at the surface, leaving gap few cm between nozzle and surface. Few moments and the paint should soften and bubble – now you can use scraper to remove this paint. Move gun along area and repeat this process. Just please be very careful, you can burn yourself very easily. If you will keep gun in same place too long – you can burn paint or surface below. If you are planning use transparent product to have natural wood finish – burning wood will not help Be very, very careful next to glass (windows) as it could crack with high temperature.
Another method – use paint stripper liquid/ paint & varnish remover. There are many different types of it. Many decorators like it, saying its quick way to remove old paint. To be honest with you, personally I really don’t like it. It makes a big mess, removed dirt is sticking into scraper, its easy burn bare hand or if this liquid will drop onto surface below- could discolour it. I have not found the best one yet! (I tried just few). Another thing – not to use inside – its not healthy to inhale it.
You must remember one more thing– SOMETIMES YOU WILL FIND LEAD-BASED PAINT on your surface. Especially in old buildings (but there are so many old Victorians or Edwardians houses around). Sanding, heating or interacting with chemicals – its HEALTH RISK. Paint- testing kits are available to identify lead based paintwork like below or similar
https://www.itseurope.co.uk/products/sensafe%C2%AE-lead-paint-test variant=29030644875298¤cy=GBP&utm_campaign=gs-2019-12-04&utm_source=google&utm_medium=smart_campaign&gclid=Cj0KCQjw-r71BRDuARIsAB7i_QMrvkQwUk4pRbABtW_iK3xeyNLaNTfmgA0ktaQmE_E2U0lYHBj8B1MaAnD9EALw_wcB
When woodwork is prepared, dou will be ready for painting. Just please remember if you are working outside the situation could be more tricky!
If exterior timber is exposed to rain, moisture, wind, hot and cold temperatures, sun its much more fragile. It is very possible it will be damaged quicker. Even paint for exterior and interior wood should be different.
First you need to check if timber below old paint is solid. If you push it with screwdriver or even finger and you will feel that is soft, if you see dark stains, mould or standing water on it – it could mean that wood below (behind) is rotten. If rotten area is too big – best is to call for carpenter or handyman like me.
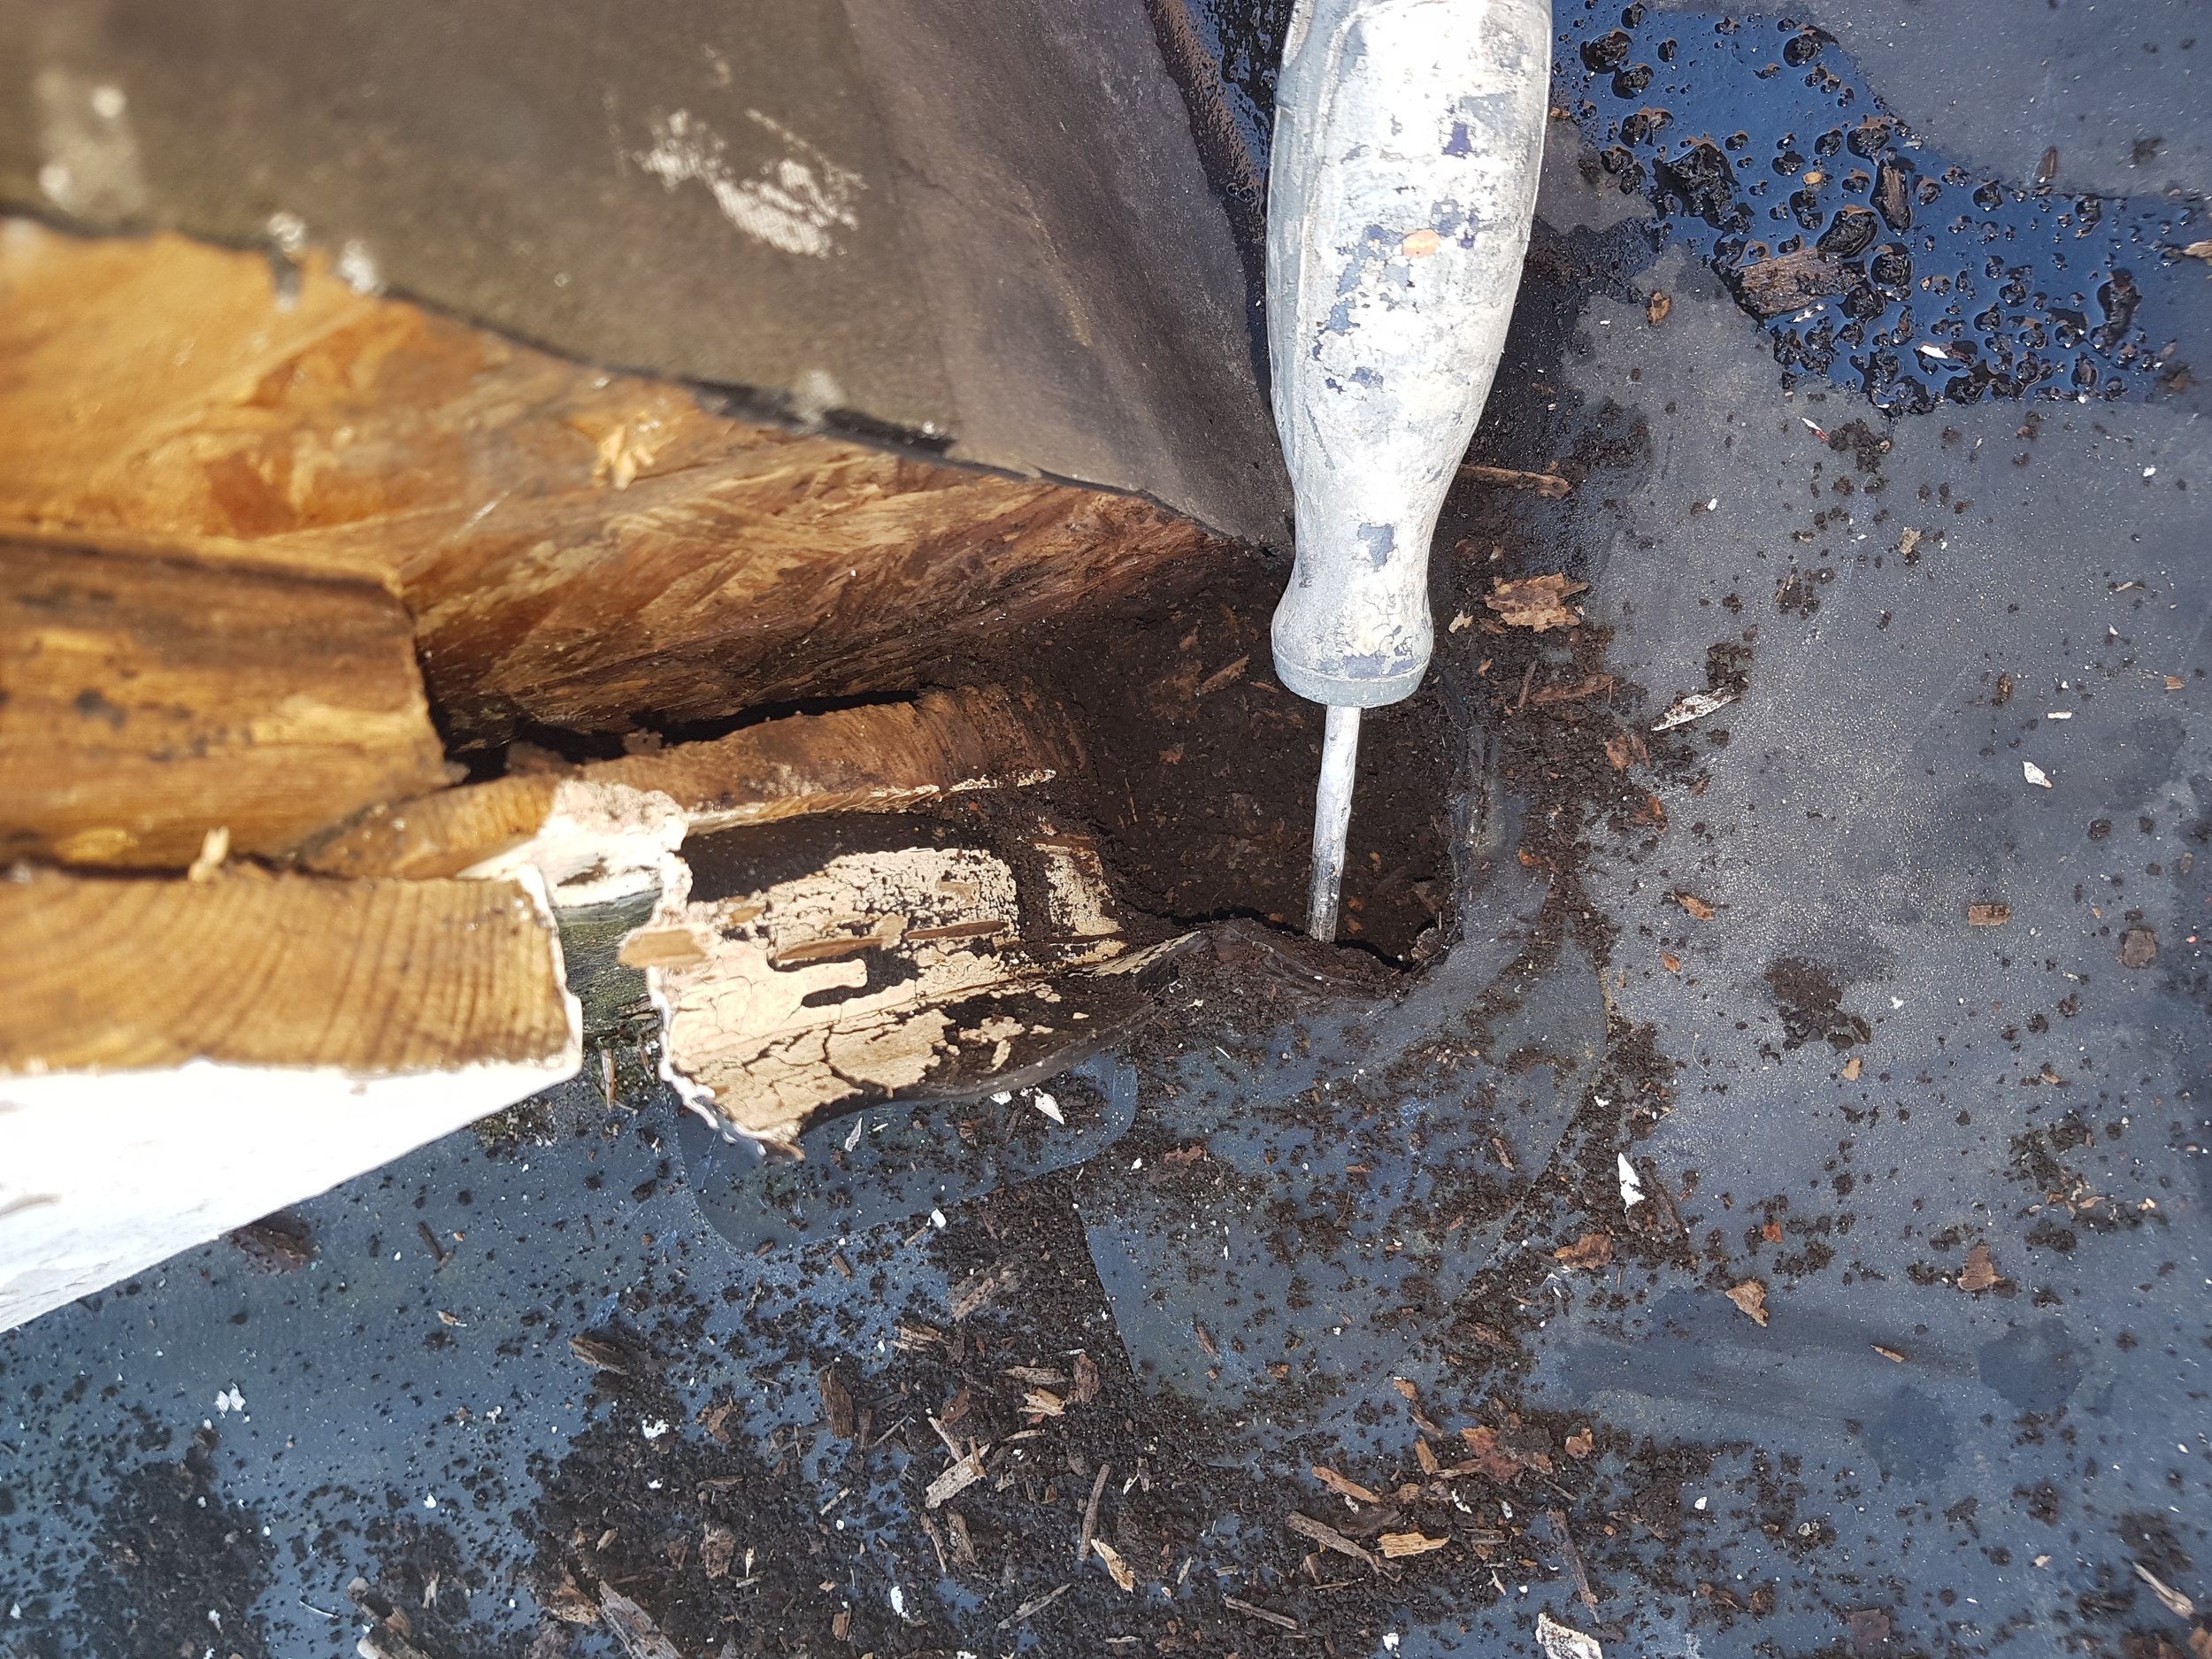
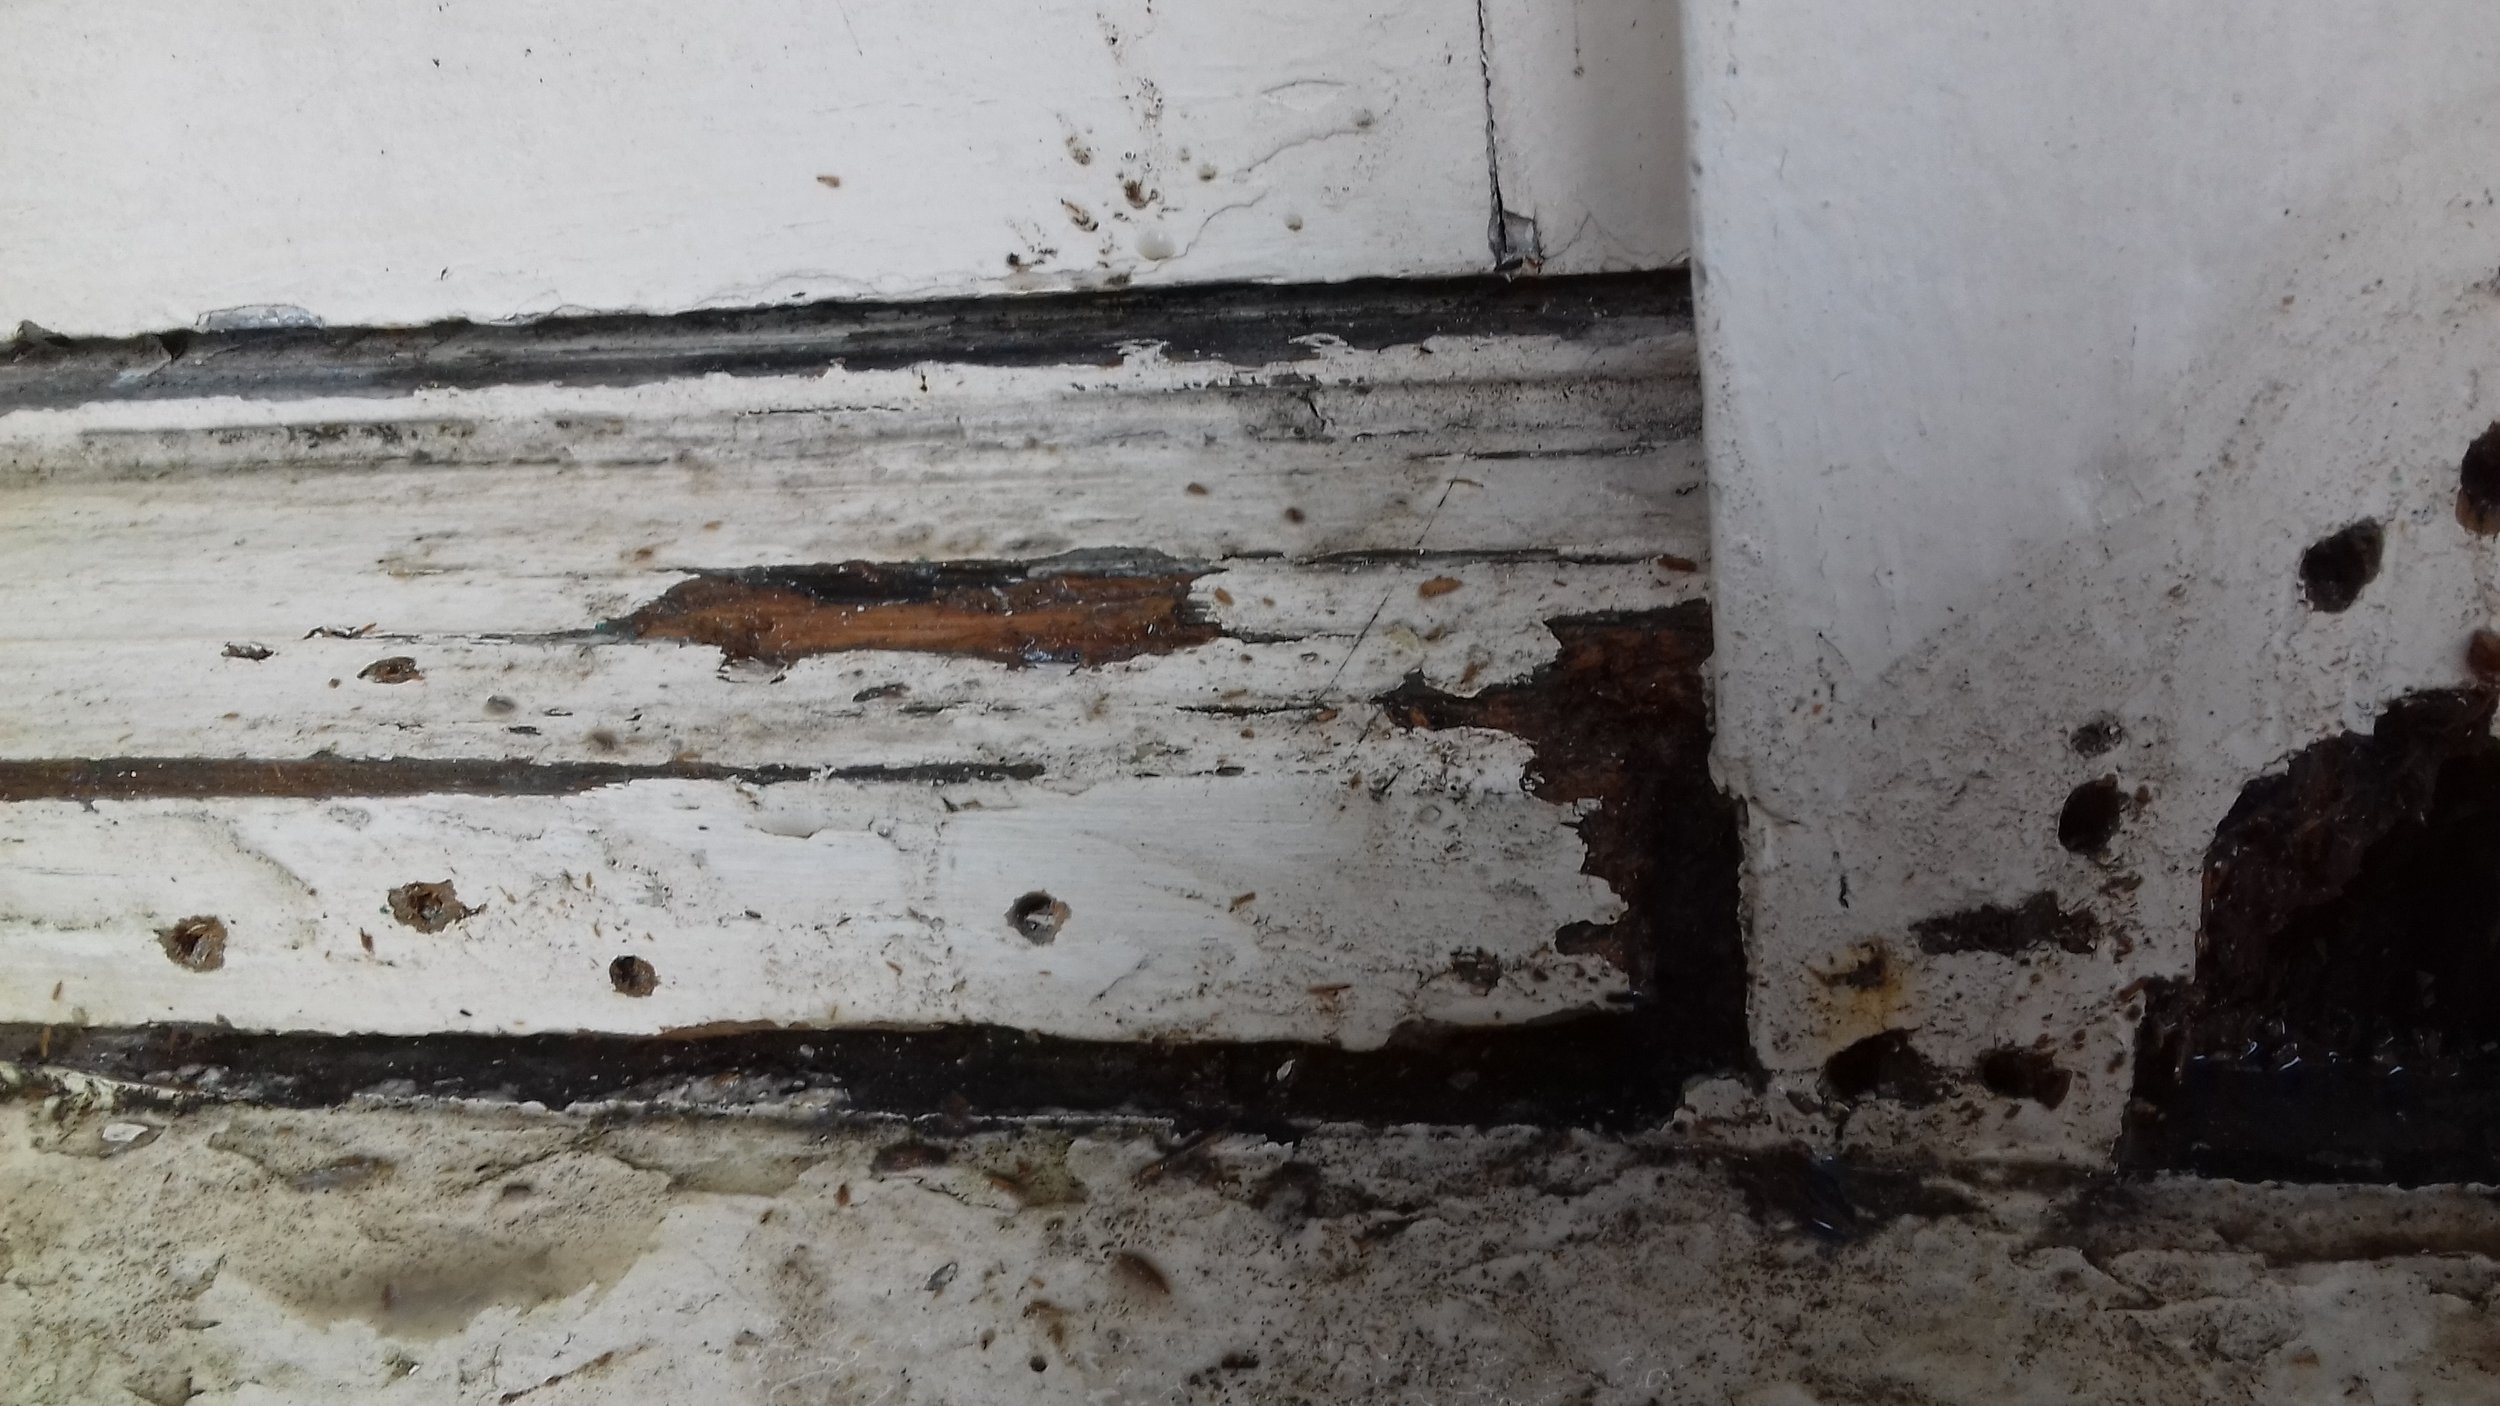
But if its less than an inch, you could deal with this yourself. Best time to deal with this is time when weather from few days is good (no rain, temperature above 10’C) – woodwork is not wet, and forecast for next few days will be solid.
Please take sandpaper (grade 60 or 80) and sand all surface with it. Places which you suspect are bad – remove paint with scraper, all soft or discoloured staff should be removed. You may need to use Stanley knife or small chisel. Make sure you leave the timber to dry. Then its time to use wood preserver like below or similar
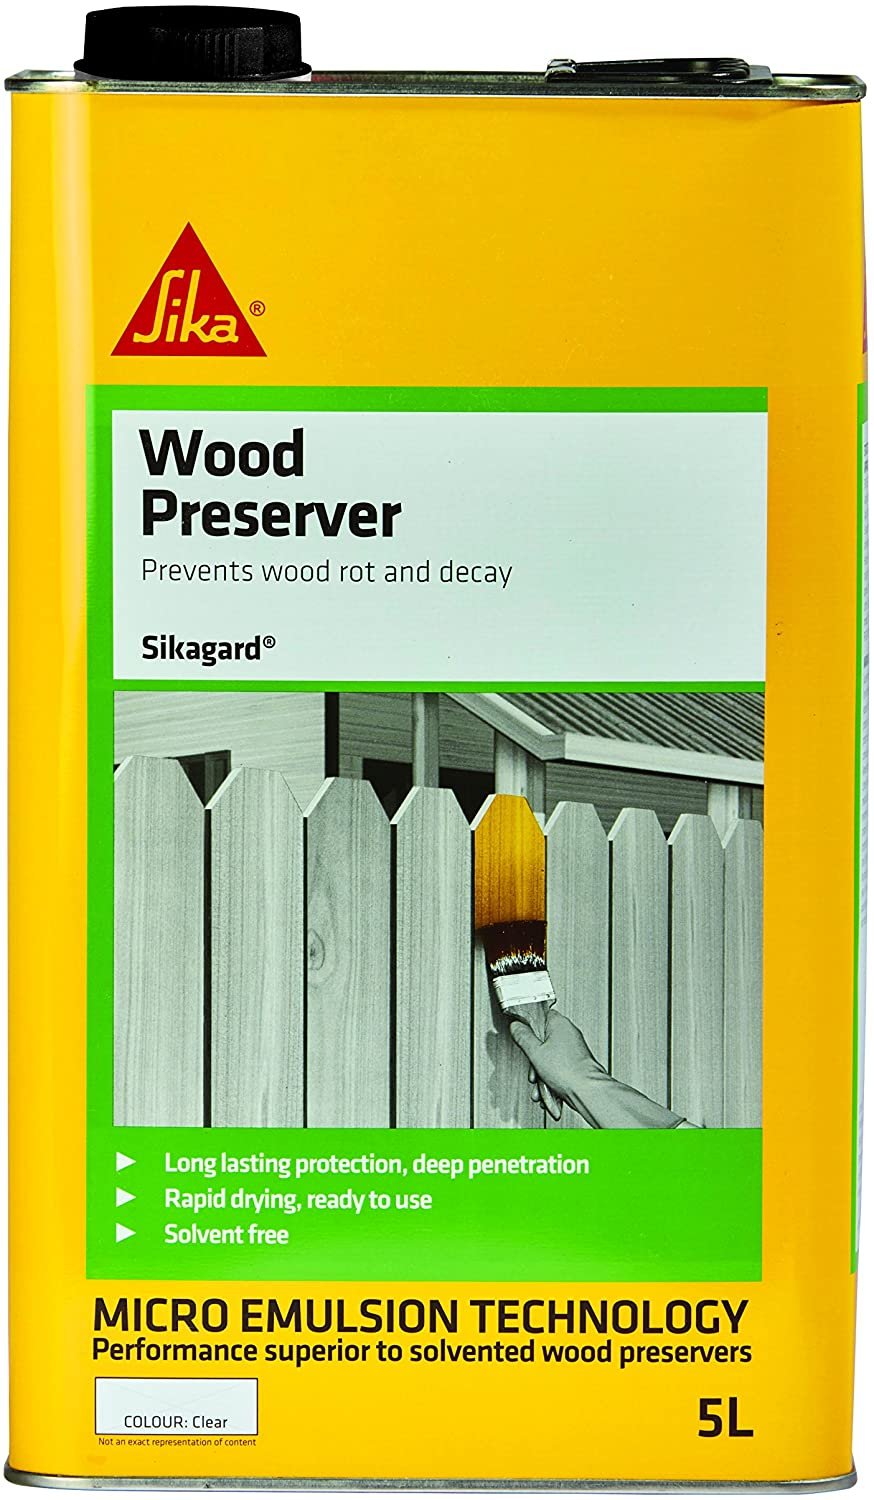
Hopefully you’ll find a smaller container. Apply two coats (leave required time between coats). Then apply (again minimum twice wood preserver like below Ronseall or Wicks brand https://www.wickes.co.uk/Ronseal-Wet-Rot-Wood-Hardener---250ml/p/117936
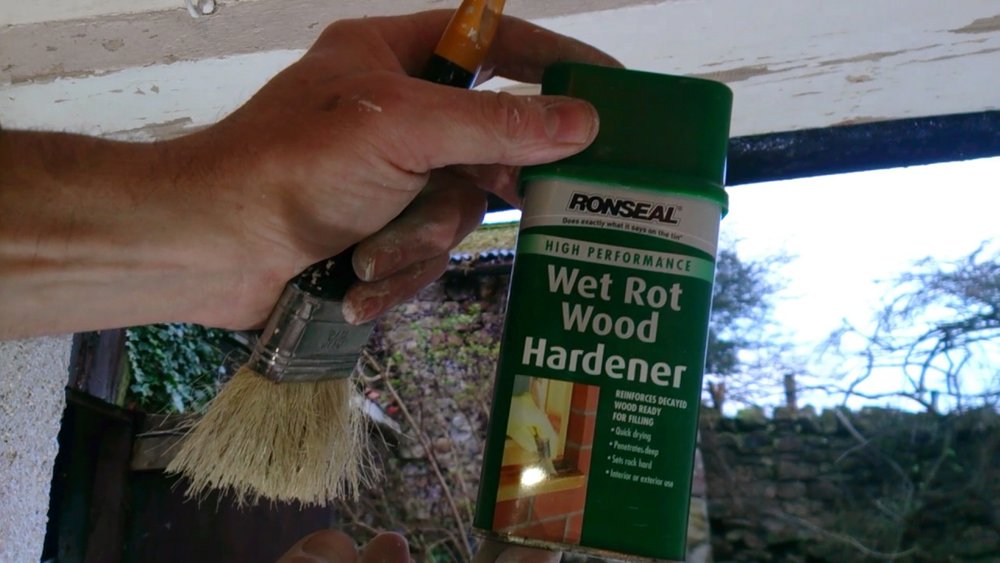
When the treated place is dry and hard you can fill up hole with this same two parts wood filler like above (High performance Reseal). Sand it, prime with exterior primer. I suggest mentioned in my part about stains – Zinsser BIN primer. https://www.screwfix.com/p/zinsser-b-i-n-shellac-based-primer-sealer-1ltr/29661
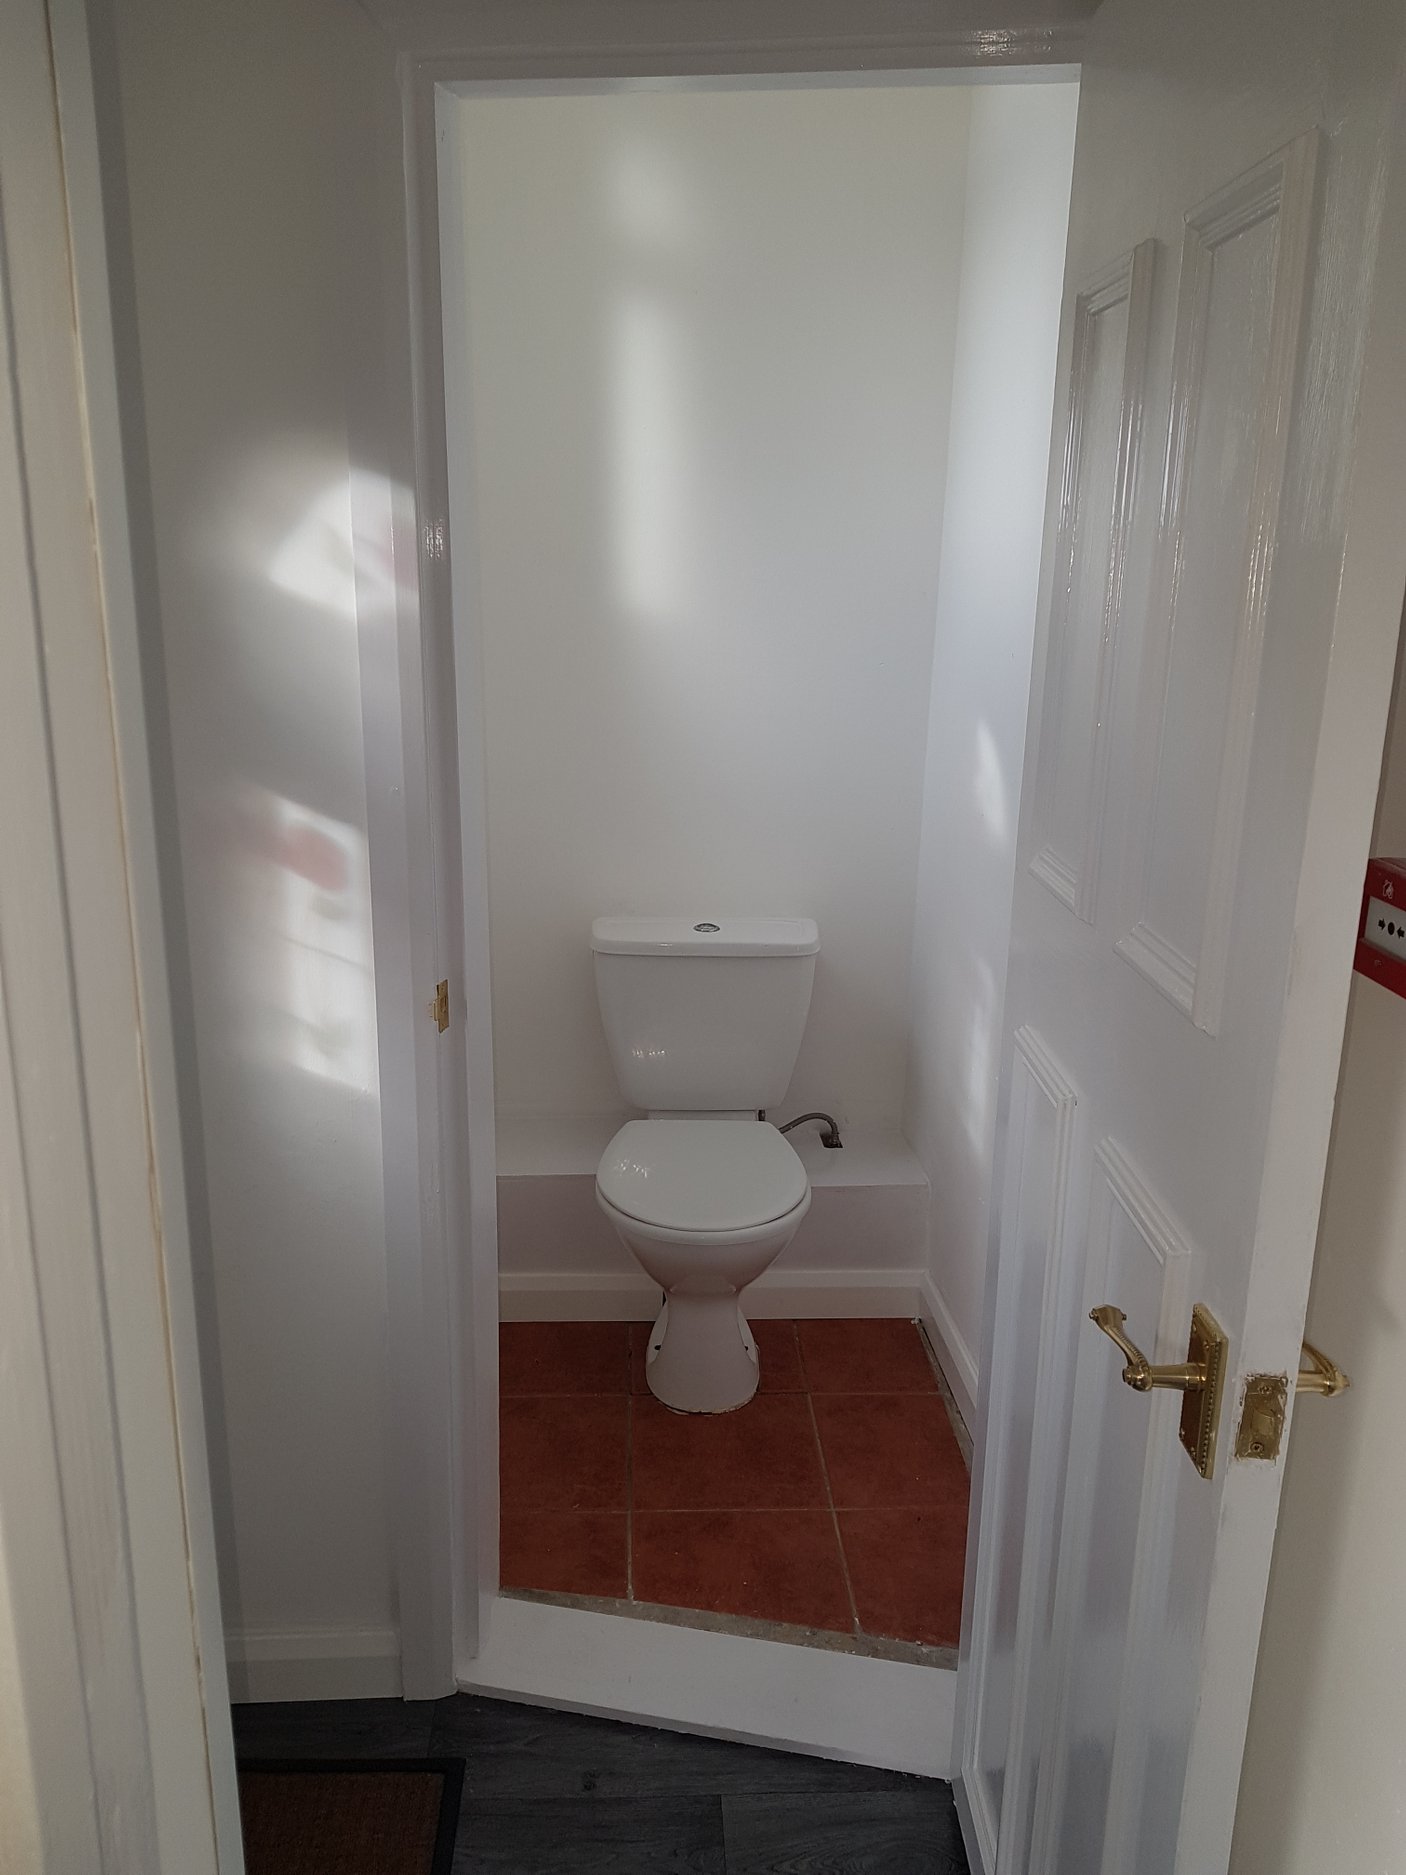
Then You’ll be ready for painting.
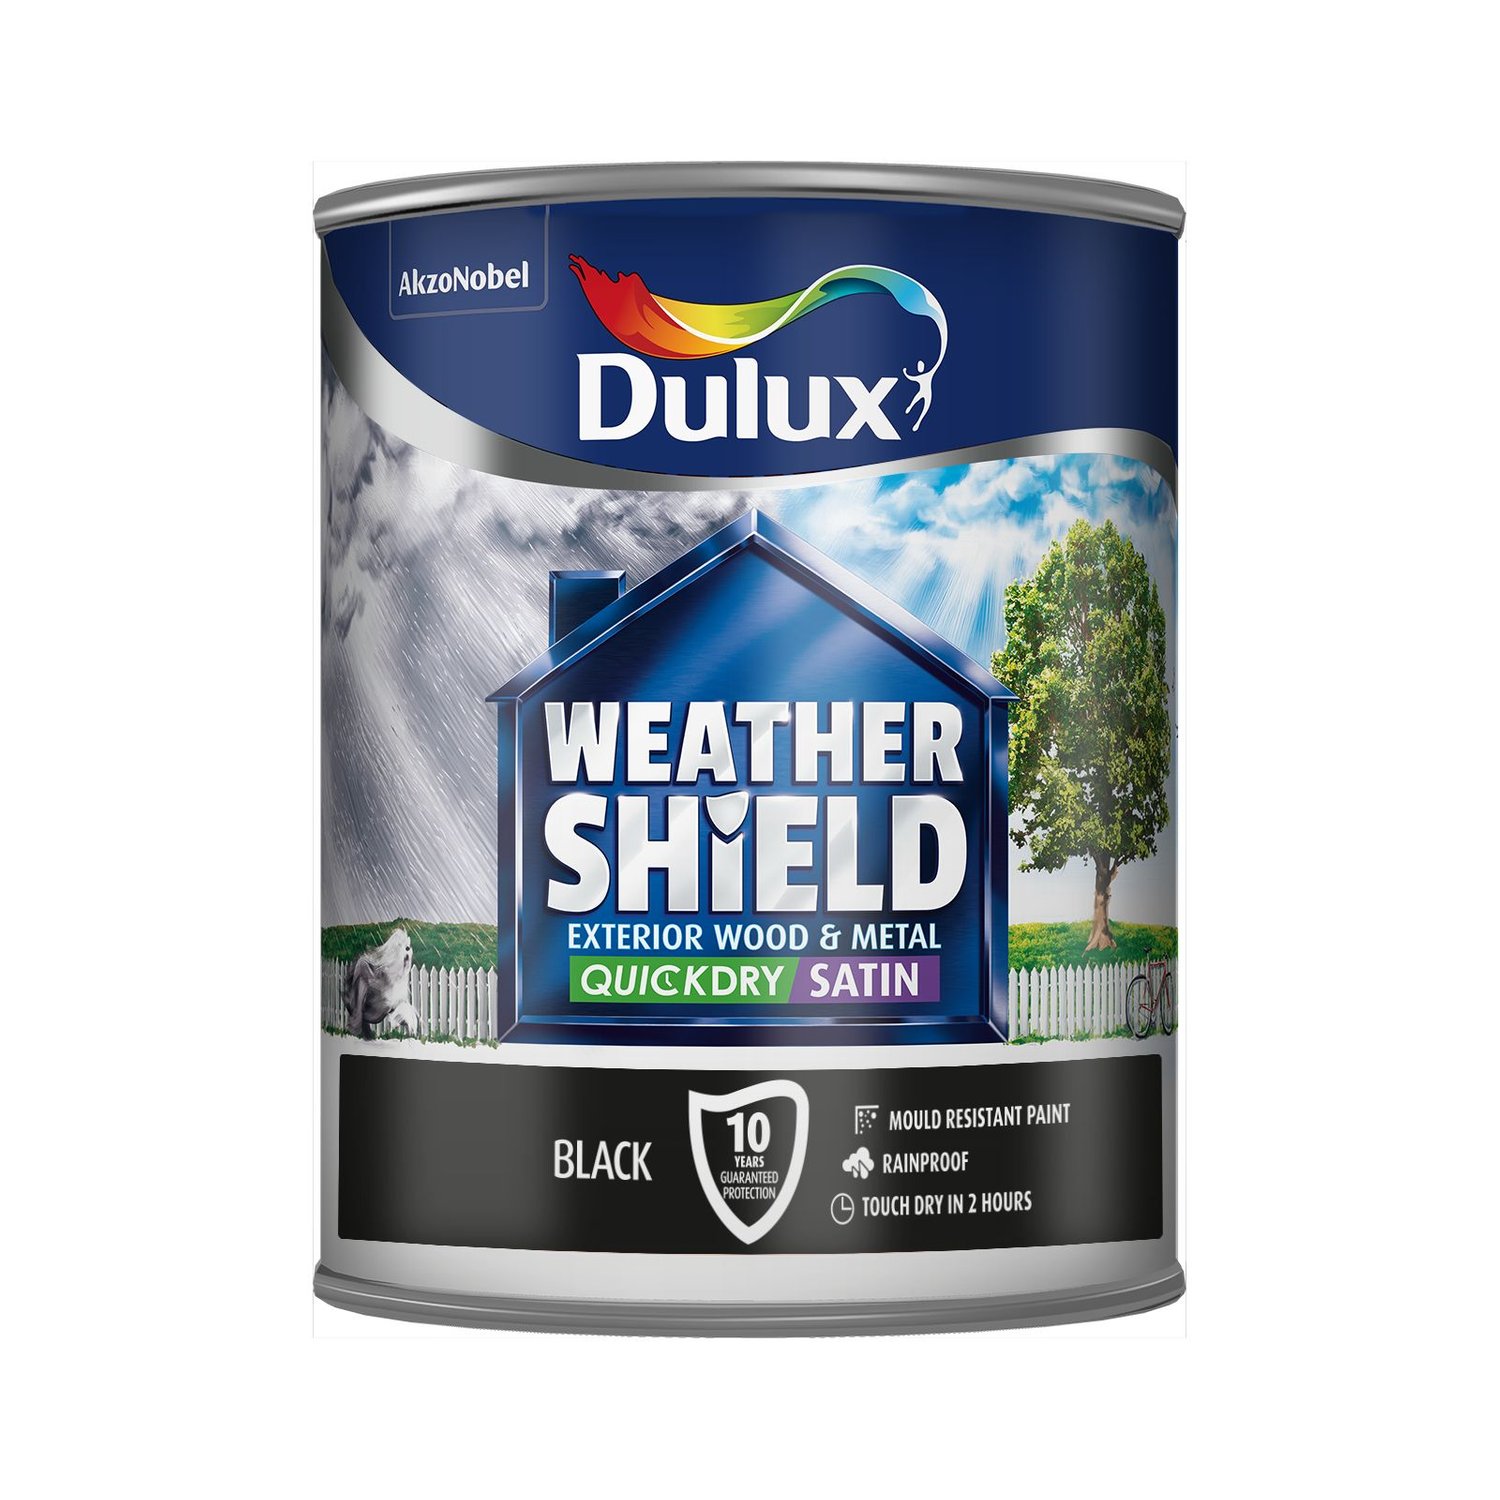
Of course, you can use any solvent based wood paint, but I strongly recommend designed for exterior woodwork weather shield like below or similar https://www.homebase.co.uk/dulux-weathershield-exterior-quick-dry-satin-paint-black-750ml_p102728
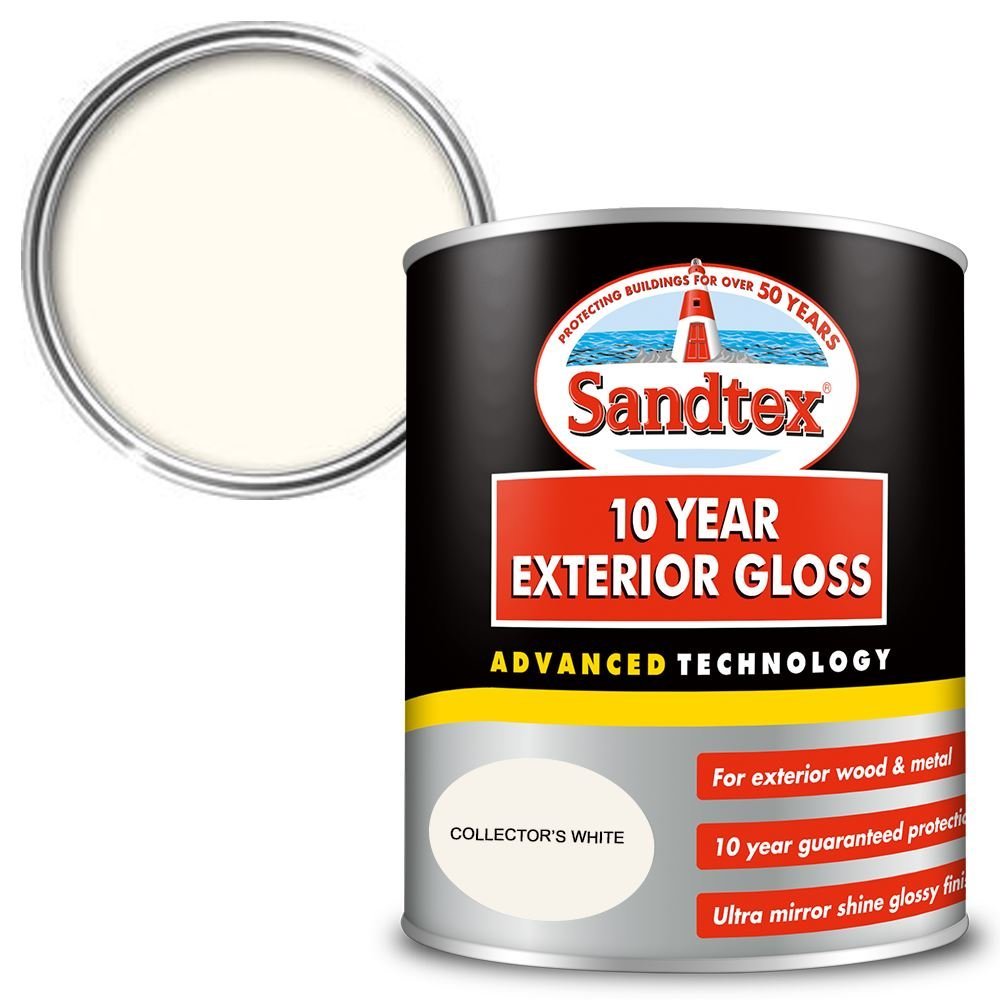
Personally I like this product:
https://www.toolstation.com/zinsser-allcoat-exterior-satin-paint/p40553 and
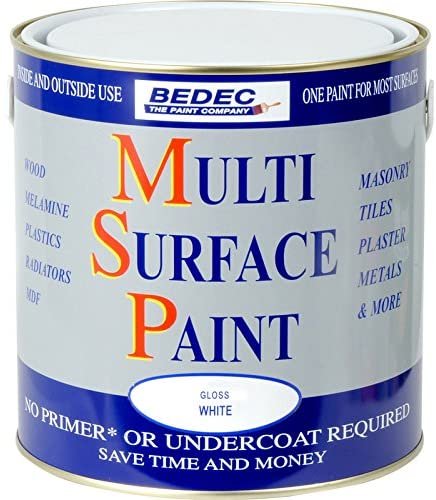
https://www.toolstation.com/bedec-multi-surface-paint/p36878
Especially last one, which is good for many surfaces.
Painting
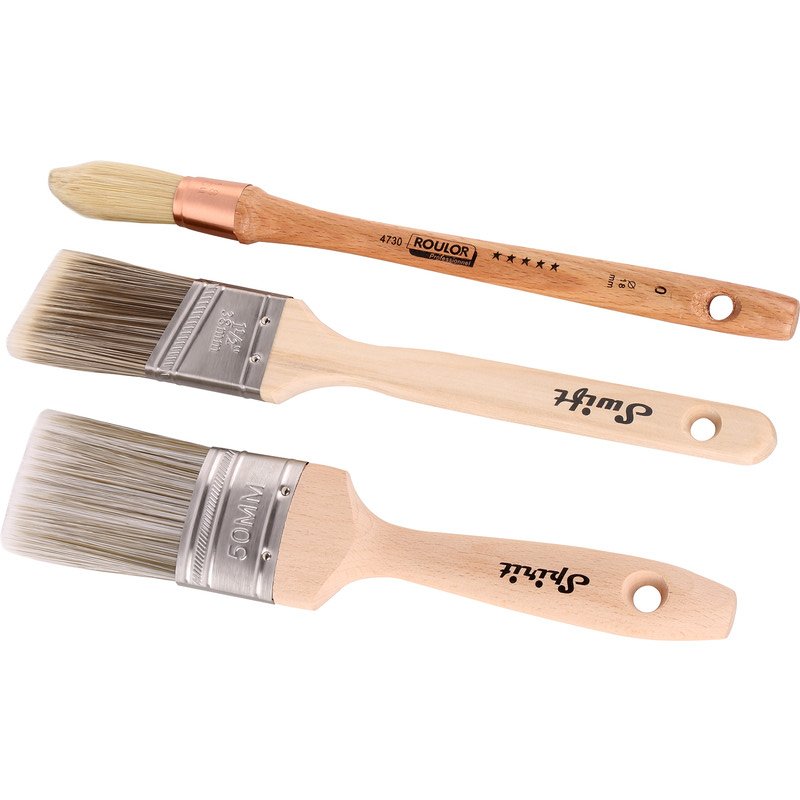
When you will start painting your windows, doors or frames, Will be good if you will have smaller and bigger paint brush
https://www.toolstation.com/pioneer-mixed-paintbrush-set/p99799
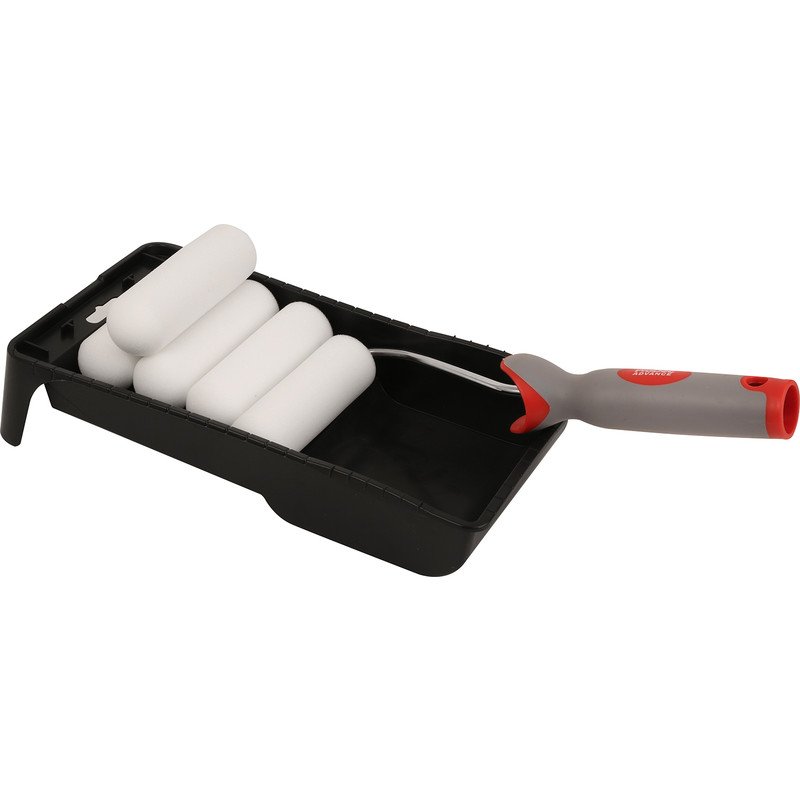
and small foam roller set like below
https://www.toolstation.com/prodec-foam-mini-roller-kit/p42371
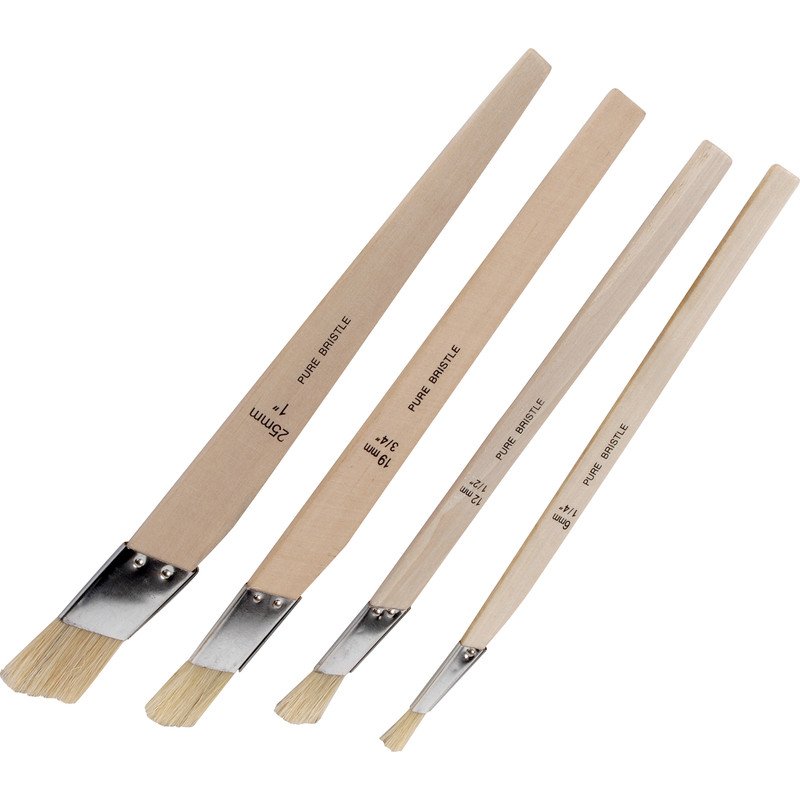
Possible set of paint brushes for difficult reach places, like below will help you to.
https://www.toolstation.com/kana-slant-fitch-paintbrush-set/p72720
When you’ll dust the area after sanding, you can apply masking tape on the glass (windows) and areas around frame.
When painting you can start from top tothe bottom, start from edged, shapes and then paint flat surfaces. Please make sure that you will not leave drops of paint to dry – use brush to spread it on the surface.
Leave paint to dry and apply another coat. Ir may be necessary to apply a third coat of paint too.
If possible, please remove masking tape before paint will dry completely.
I believe you can complete these jobs yourself!!!
If you have any question, which I could answer, I’ll be happy to help – just send me a message:) remik@adamhandyman.couk or klick contact below:

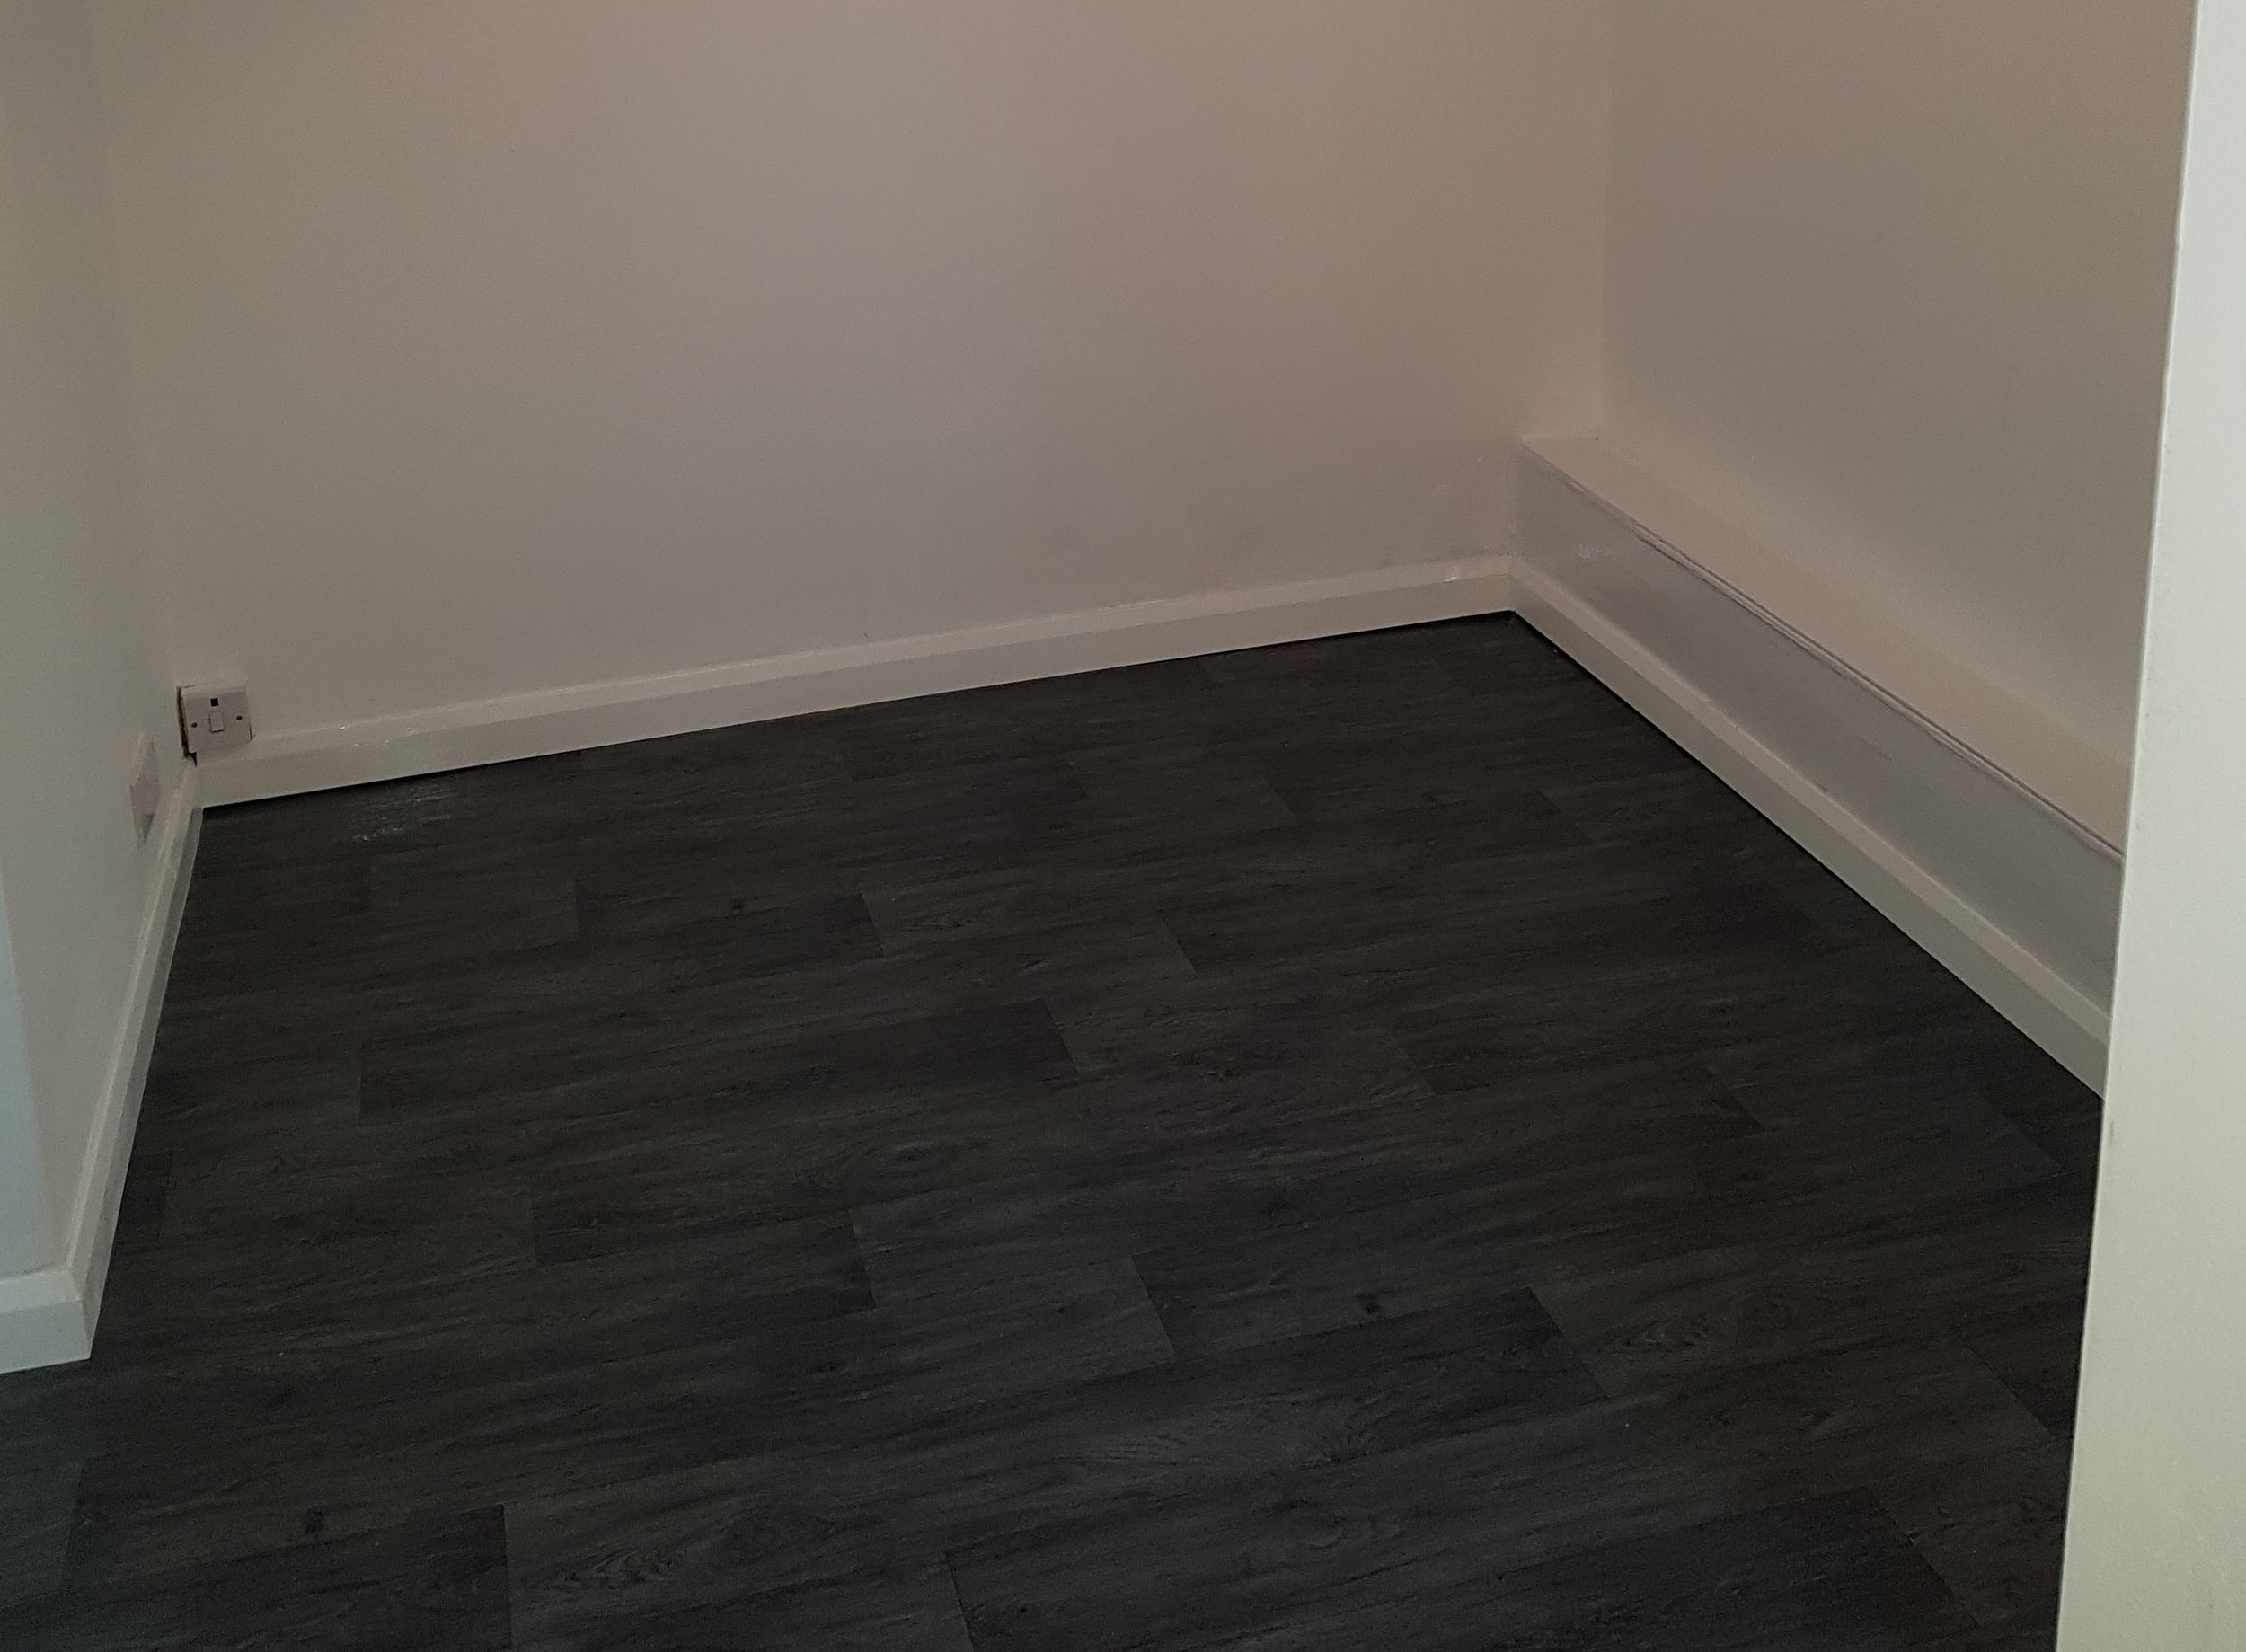
When lockdown ends and you will decide to let me decorate another room in your house or office, laying a floor, remodell bathroom or do some other job around your house, I’ll be more than happy meet you, talk about details, and do it along your preferences.
If you check out my website, you will find some more info about me and completed projects. You will find ther as well unique, acrylic based walls decorations, which Im doing as well, including venetian plastering, concrete effect paint and wall sculpture. So, I believe see you a few weeks from now.
Till that time, please stay safe and enjoy your DIY projects
Remik
AdamHandyman Hastings
E-mail: remik@adamhandyman.co.uk
Tel: 01424 434905
Mob: 0745 603 0030
